Walkthrough · Updated October 30, 2026
Welcome to Your Creators Dept Partner Portal
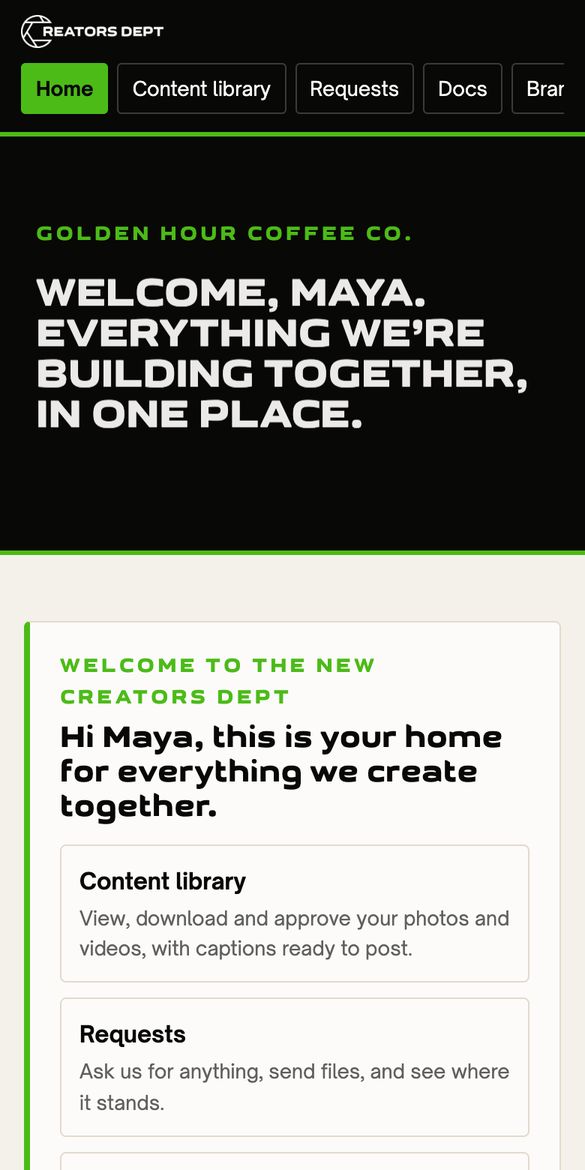
Your Client Partner Portal is where everything we create together lives: your photos and videos, your requests, shared docs, brand files and agreements. This walkthrough takes about three minutes. Sections 1 to 6 cover the everyday steps; the optional ones after them cover things you'll only do now and then.
Who can see what. This guide is open to anyone with the link, with no sign-in needed, and you can print it or download it as a PDF. It uses a made-up business (Golden Hour Coffee Co.), so nothing private is in it. Your portal is private: only people we've invited, at the email address we have for them, can sign in, and they only ever see your business.
01 Open your invitation
We'll send you an email titled Welcome to the new Creators Dept: your Client Partner Portal.
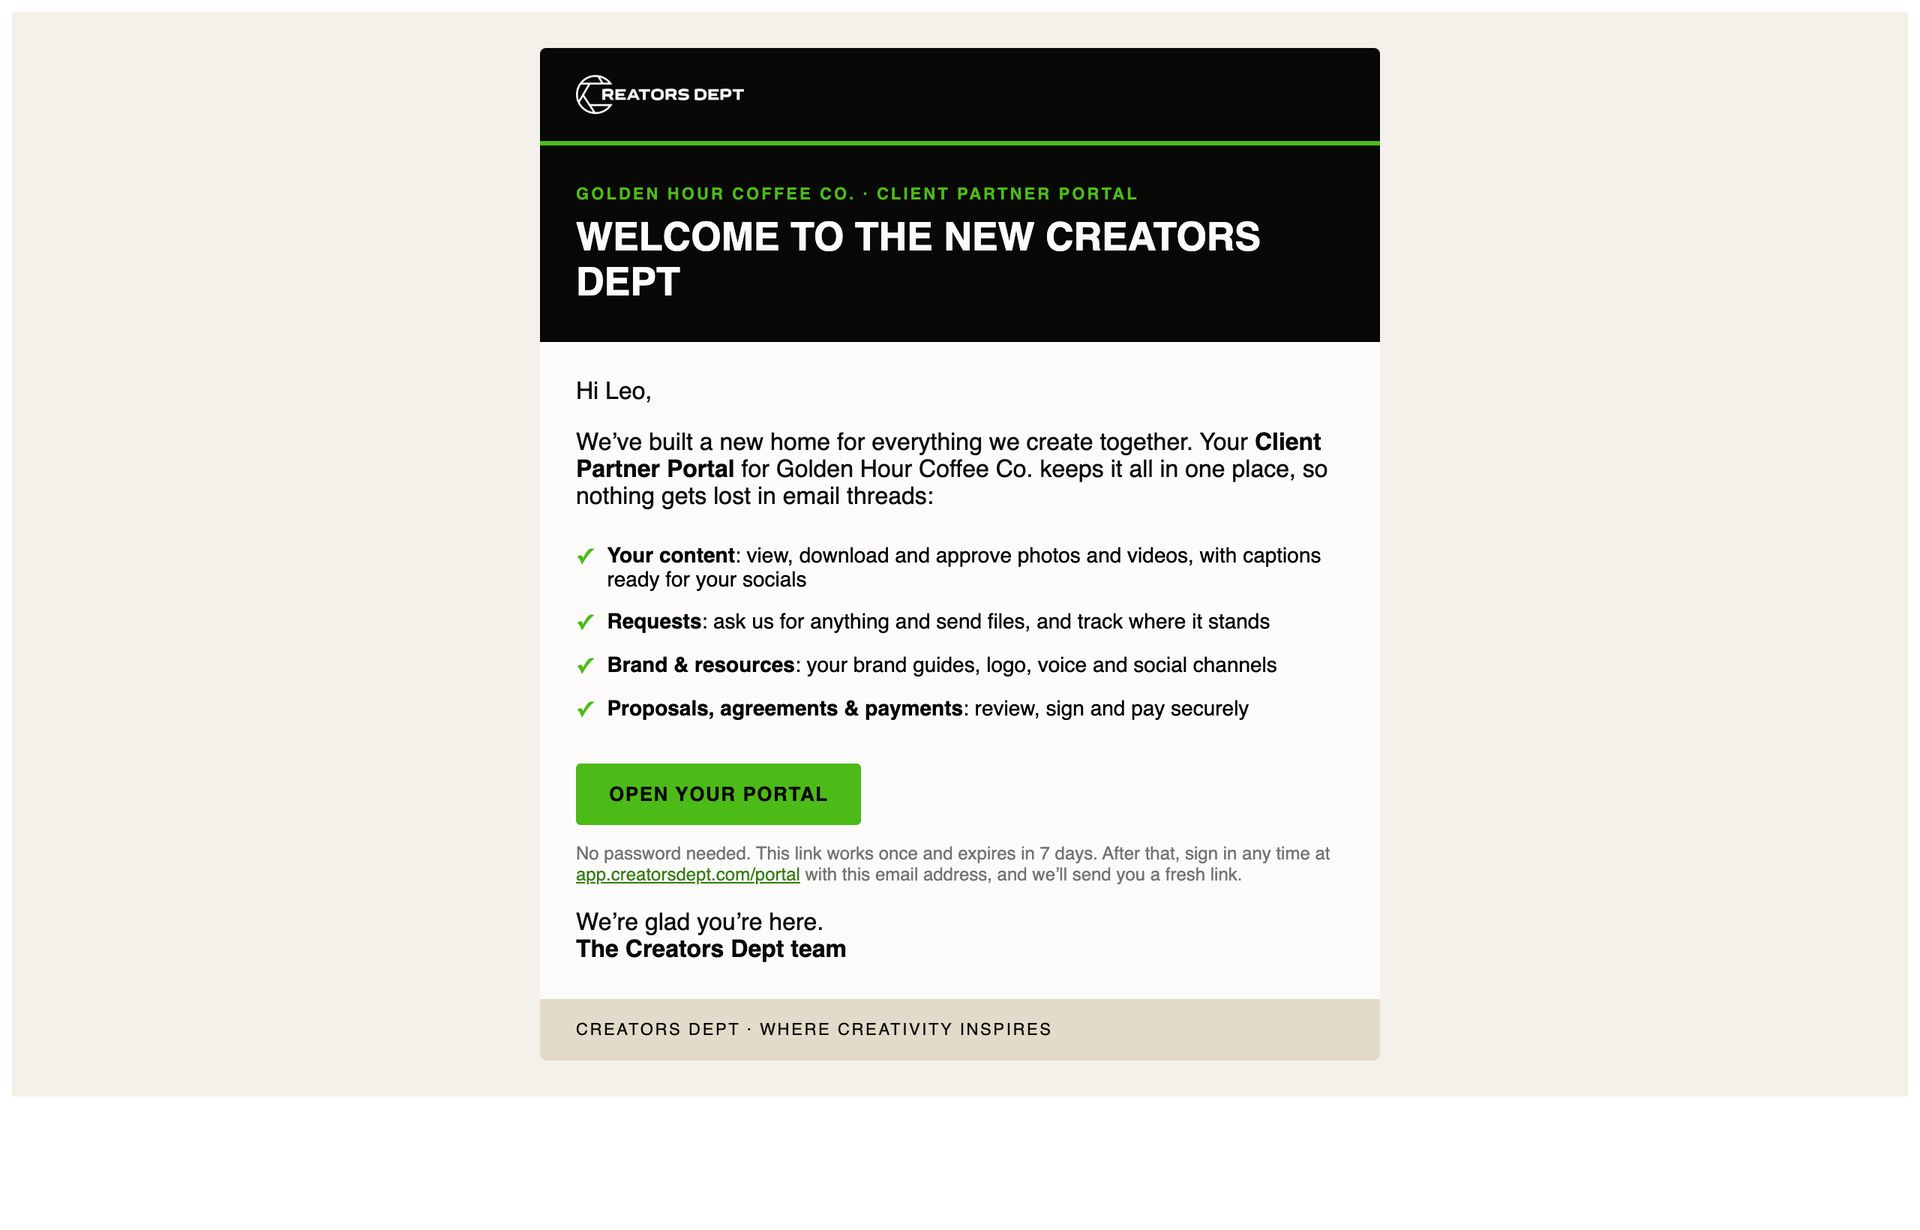
- Click Open your portal. The link works once and lasts 7 days.
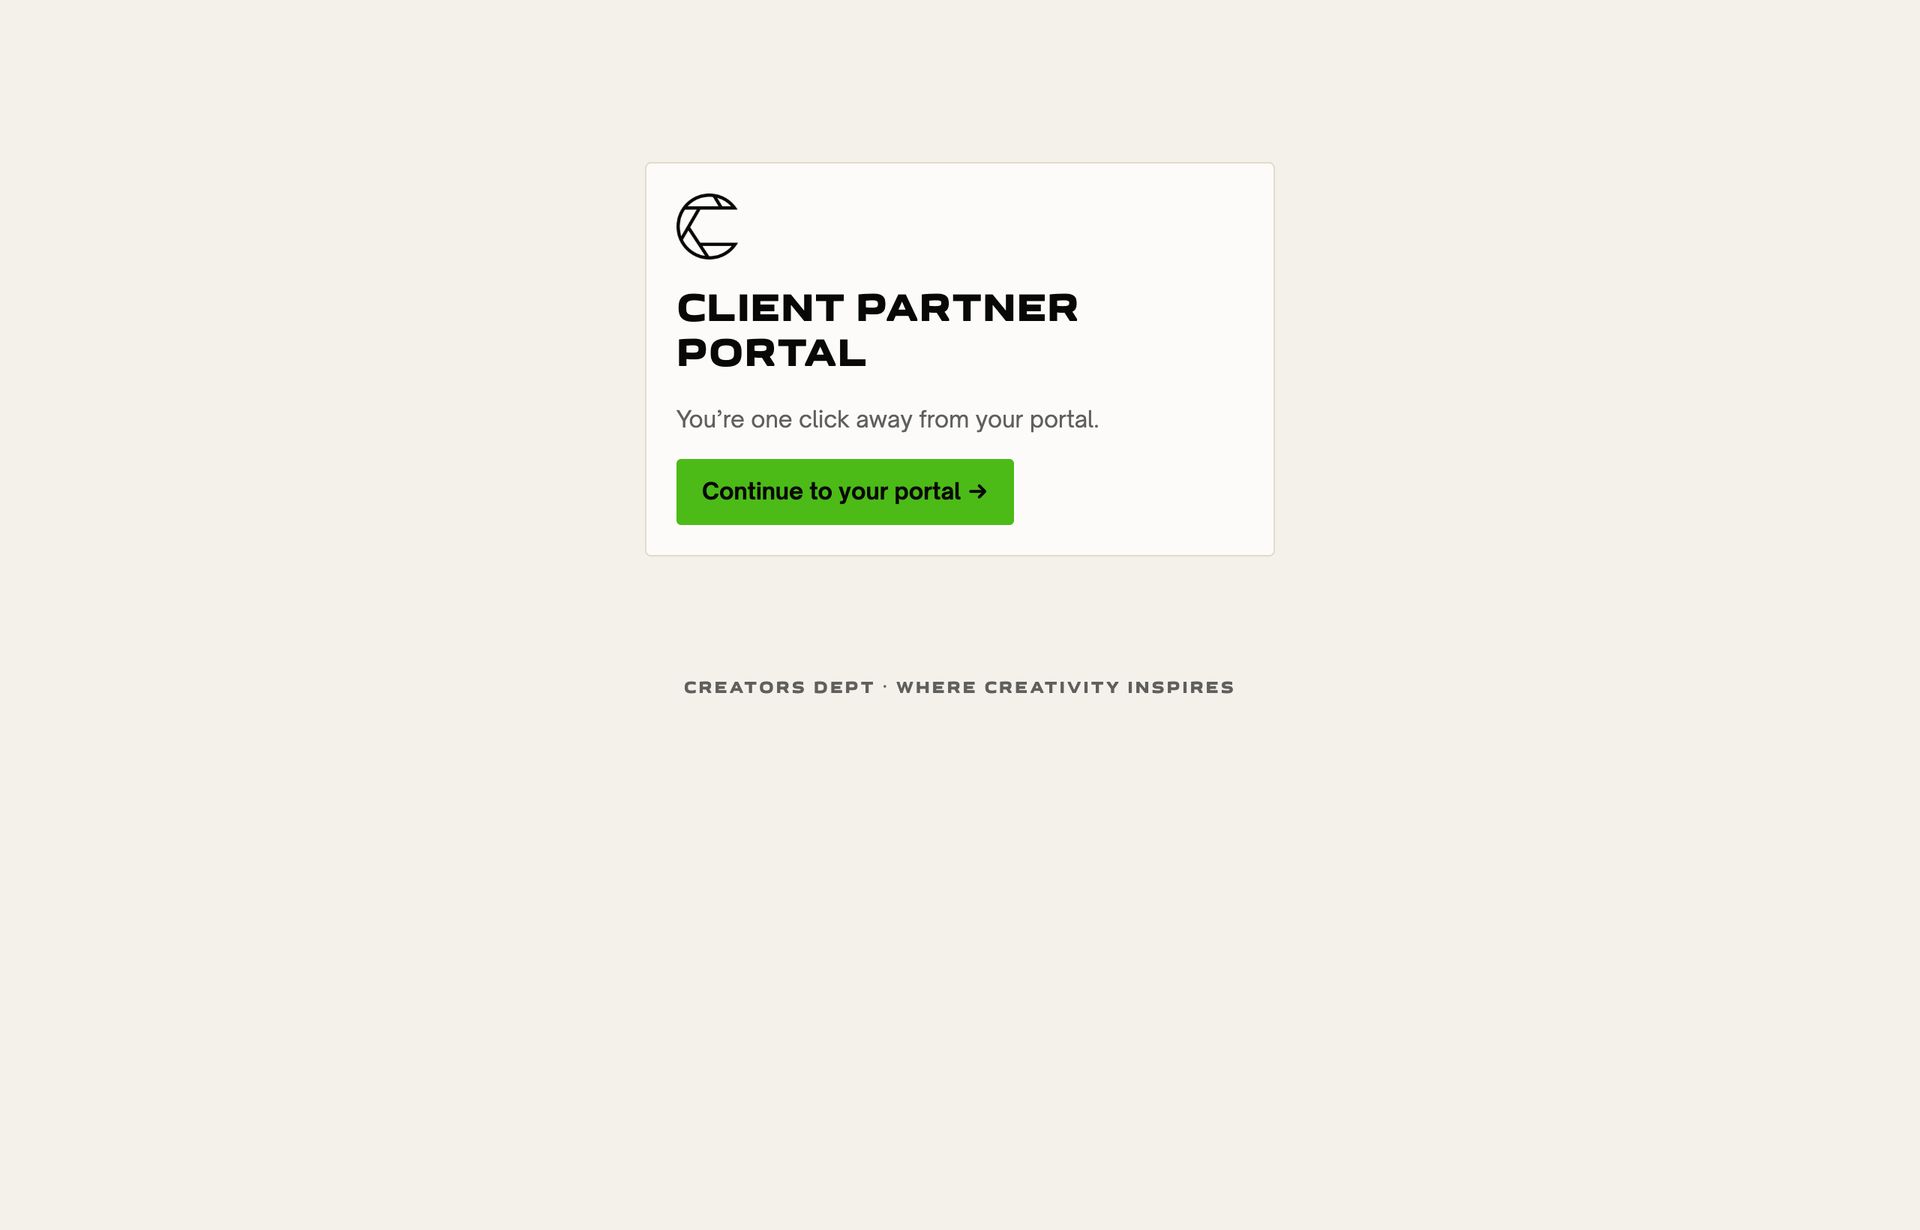
- On the page that opens, click Continue to your portal →.
- You'll land on Your profile. Under Set a password, type a password of at least 10 characters twice and click Save password.
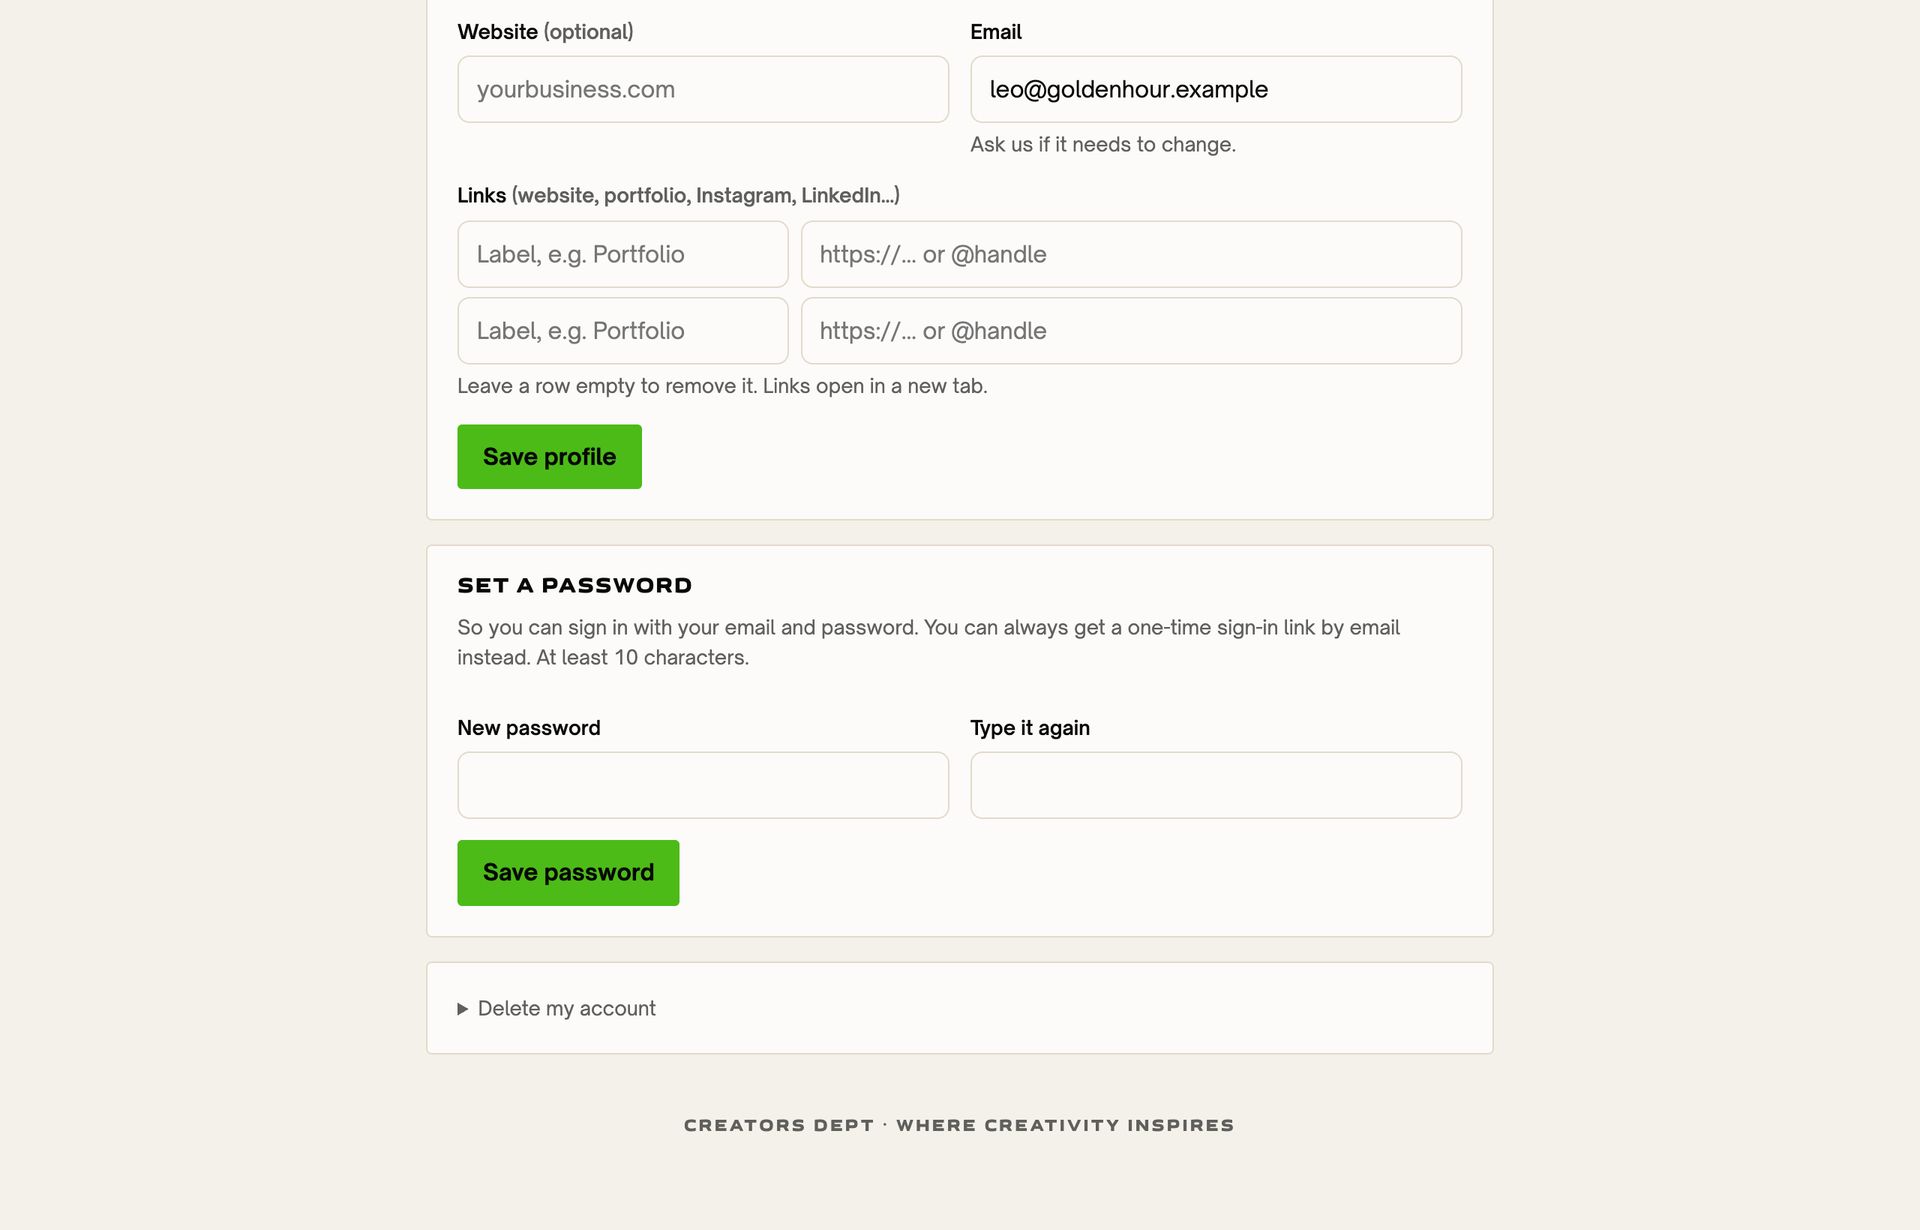
Next time, go to app.creatorsdept.com/portal and sign in with your email and password. No password yet, or forgot it? Click Email me a sign-in link instead. That link works once and expires in 30 minutes. Ended up on a page that just says Sign in, next to Your creative department, all in one place? That's our team's page; click Sign in to your Client Partner Portal below the form, or sign in right there with your portal email and password.
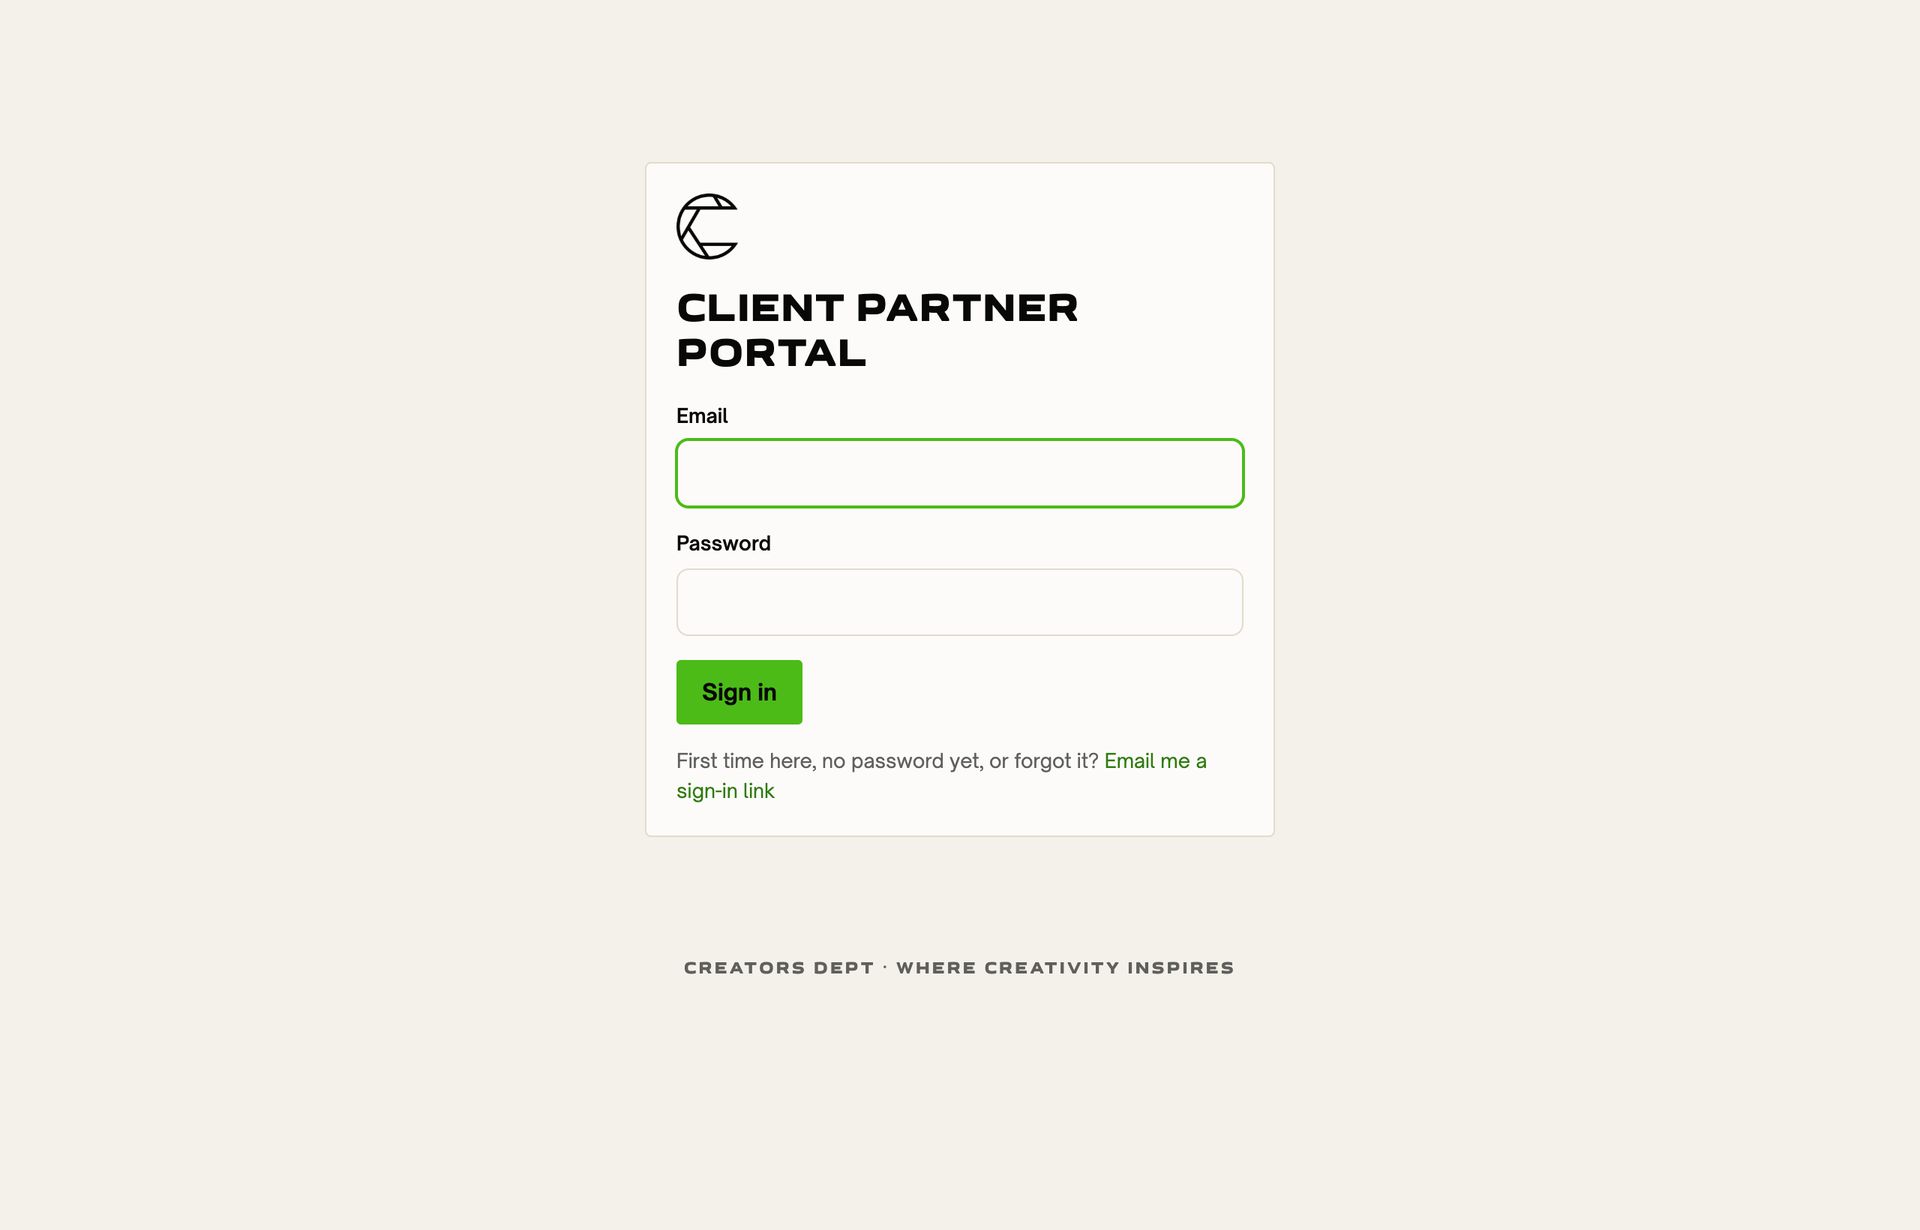
Invitation expired or already used? Go to app.creatorsdept.com/portal, click Email me a sign-in link and enter the same email address.
02 Find and download your content
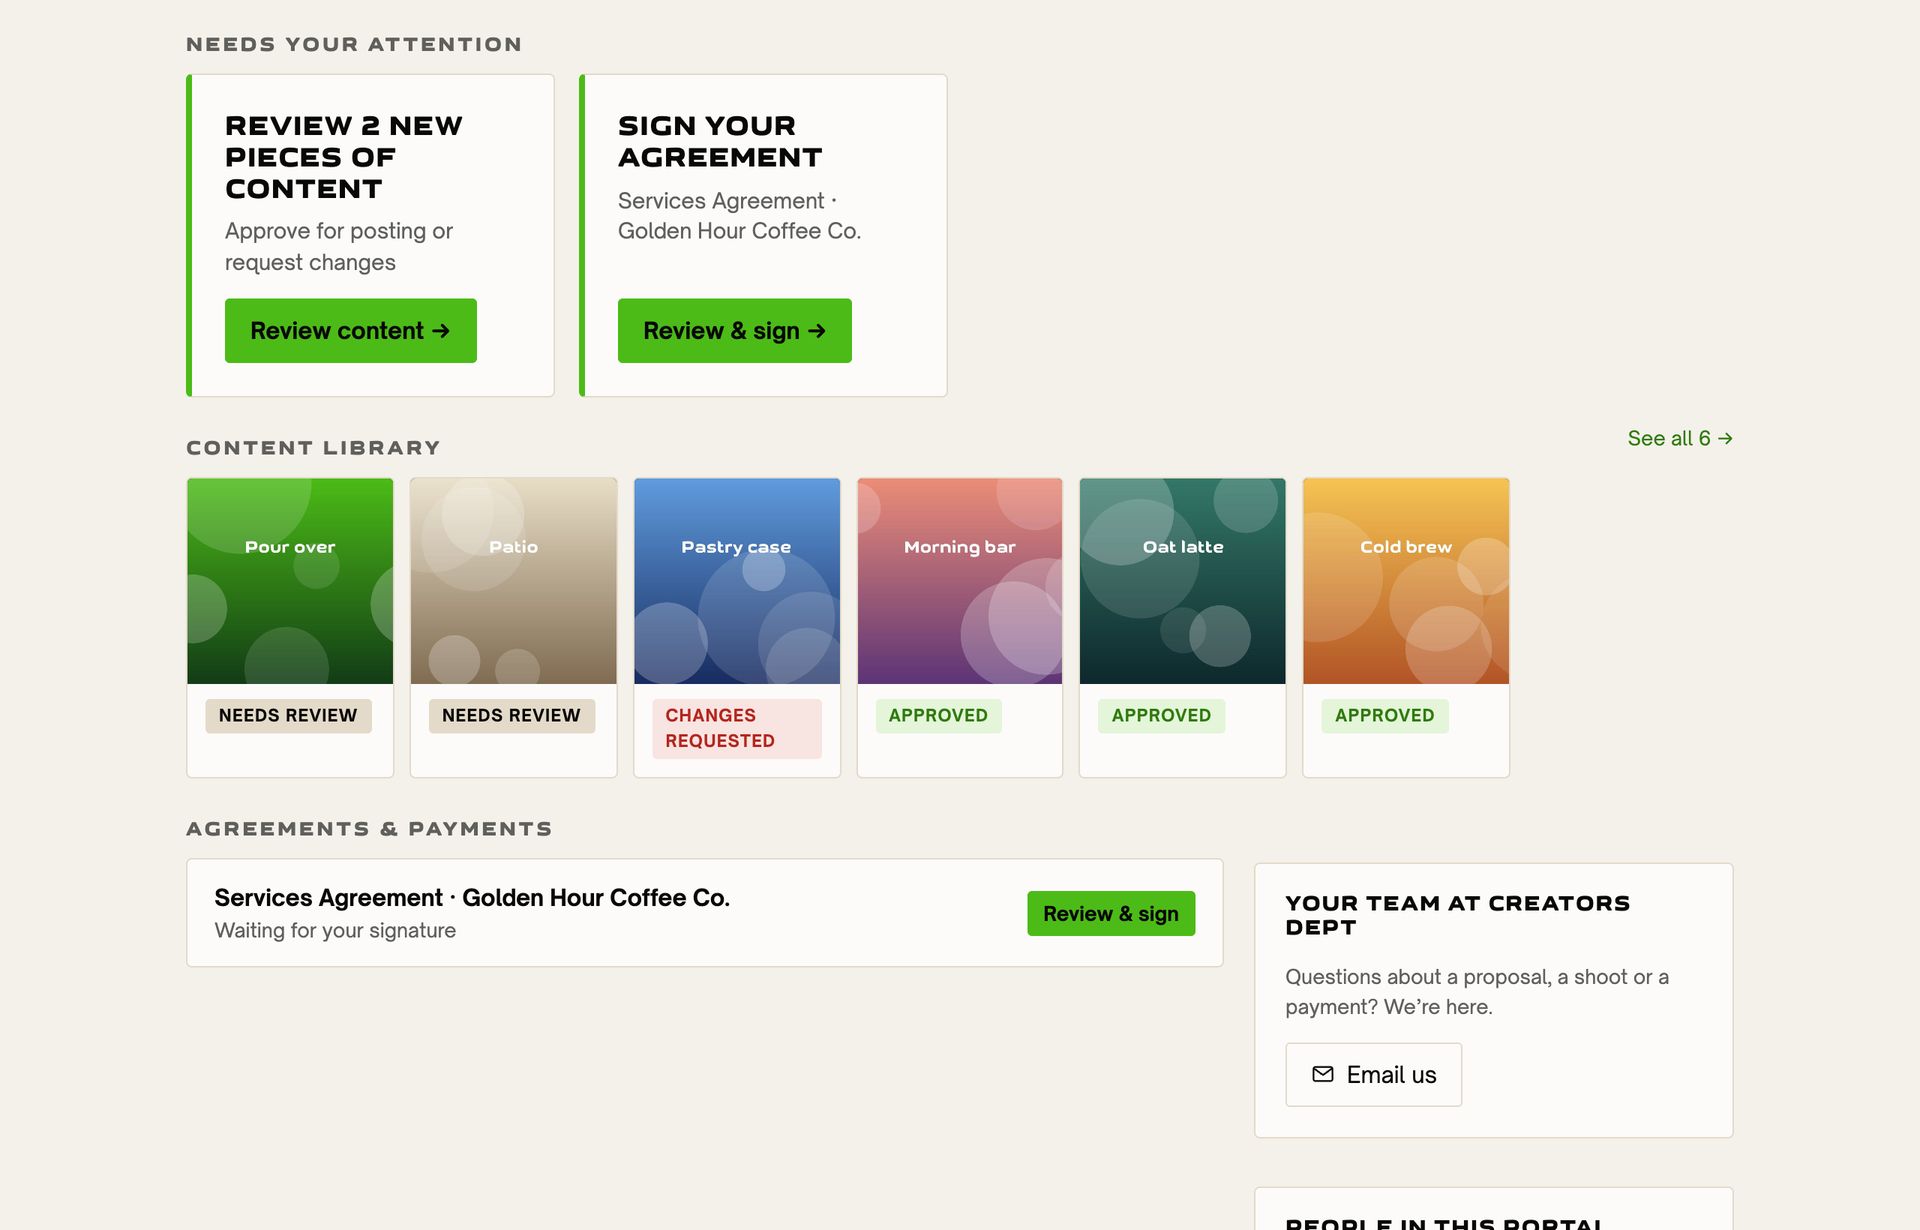
Your portal home shows what needs you under Needs your attention, and your newest content just below it.
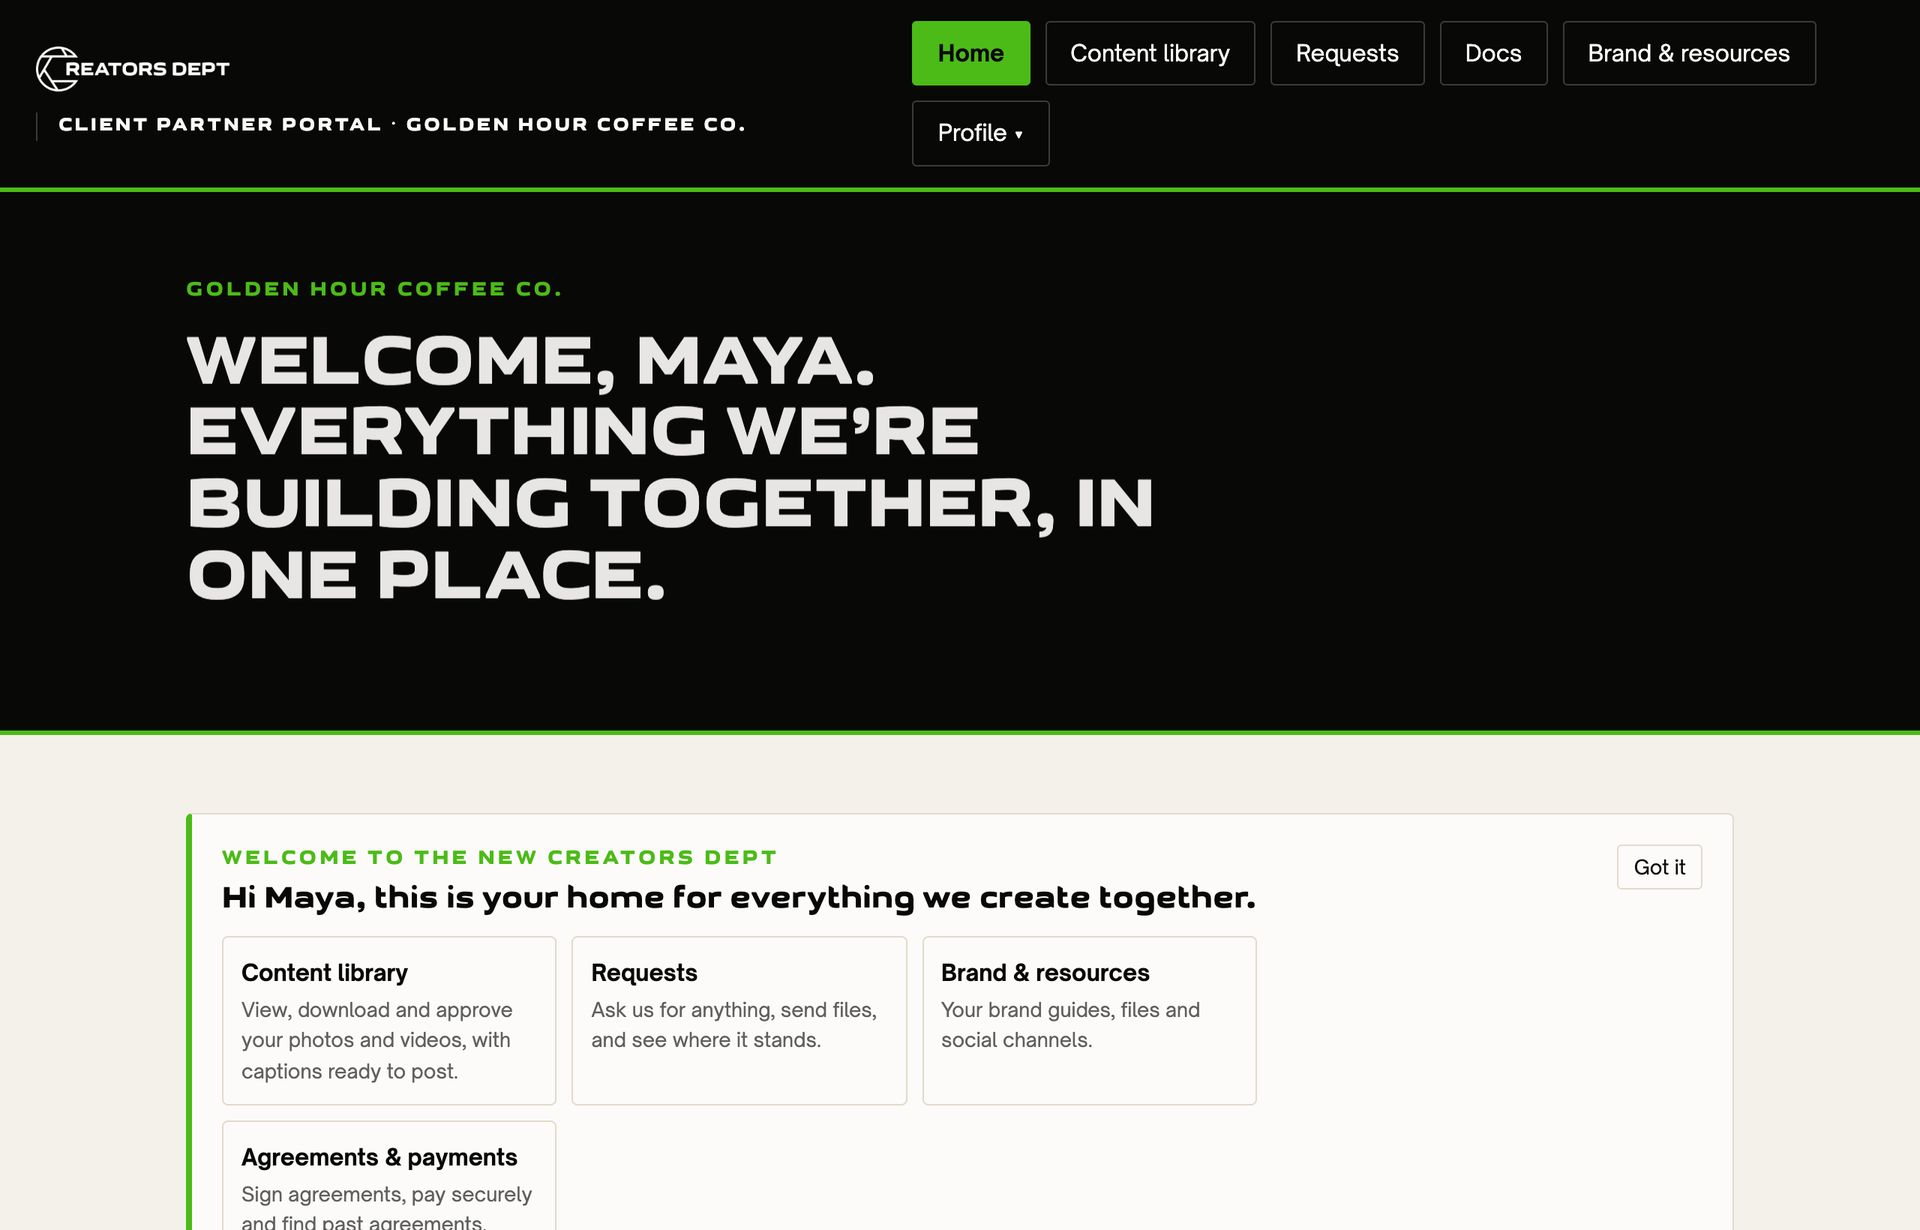
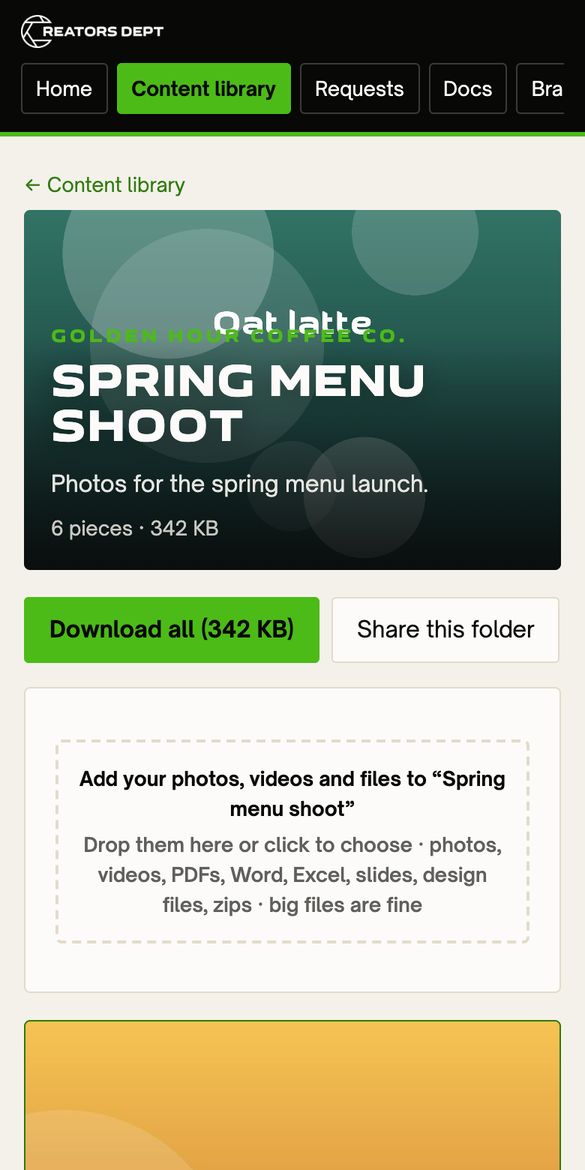
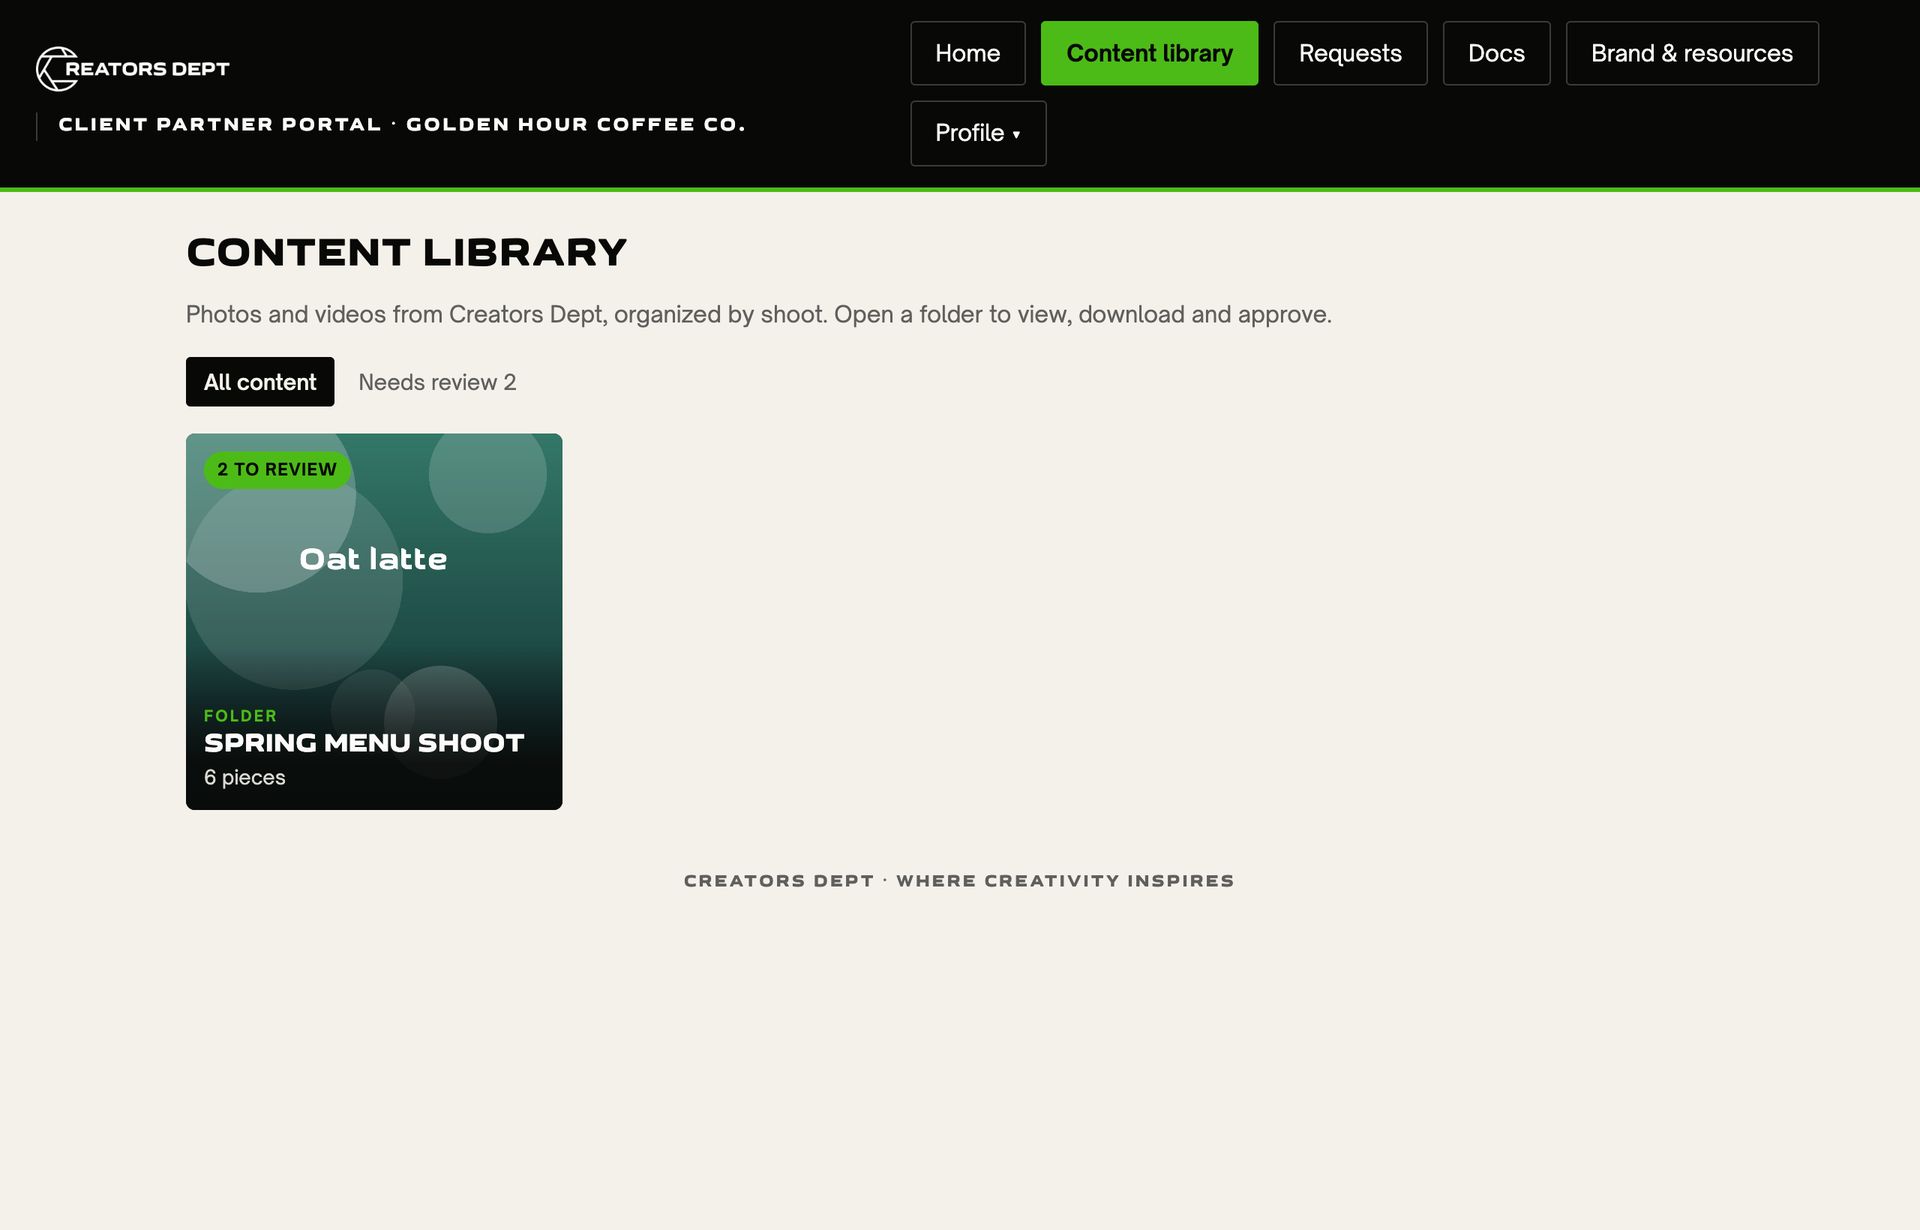
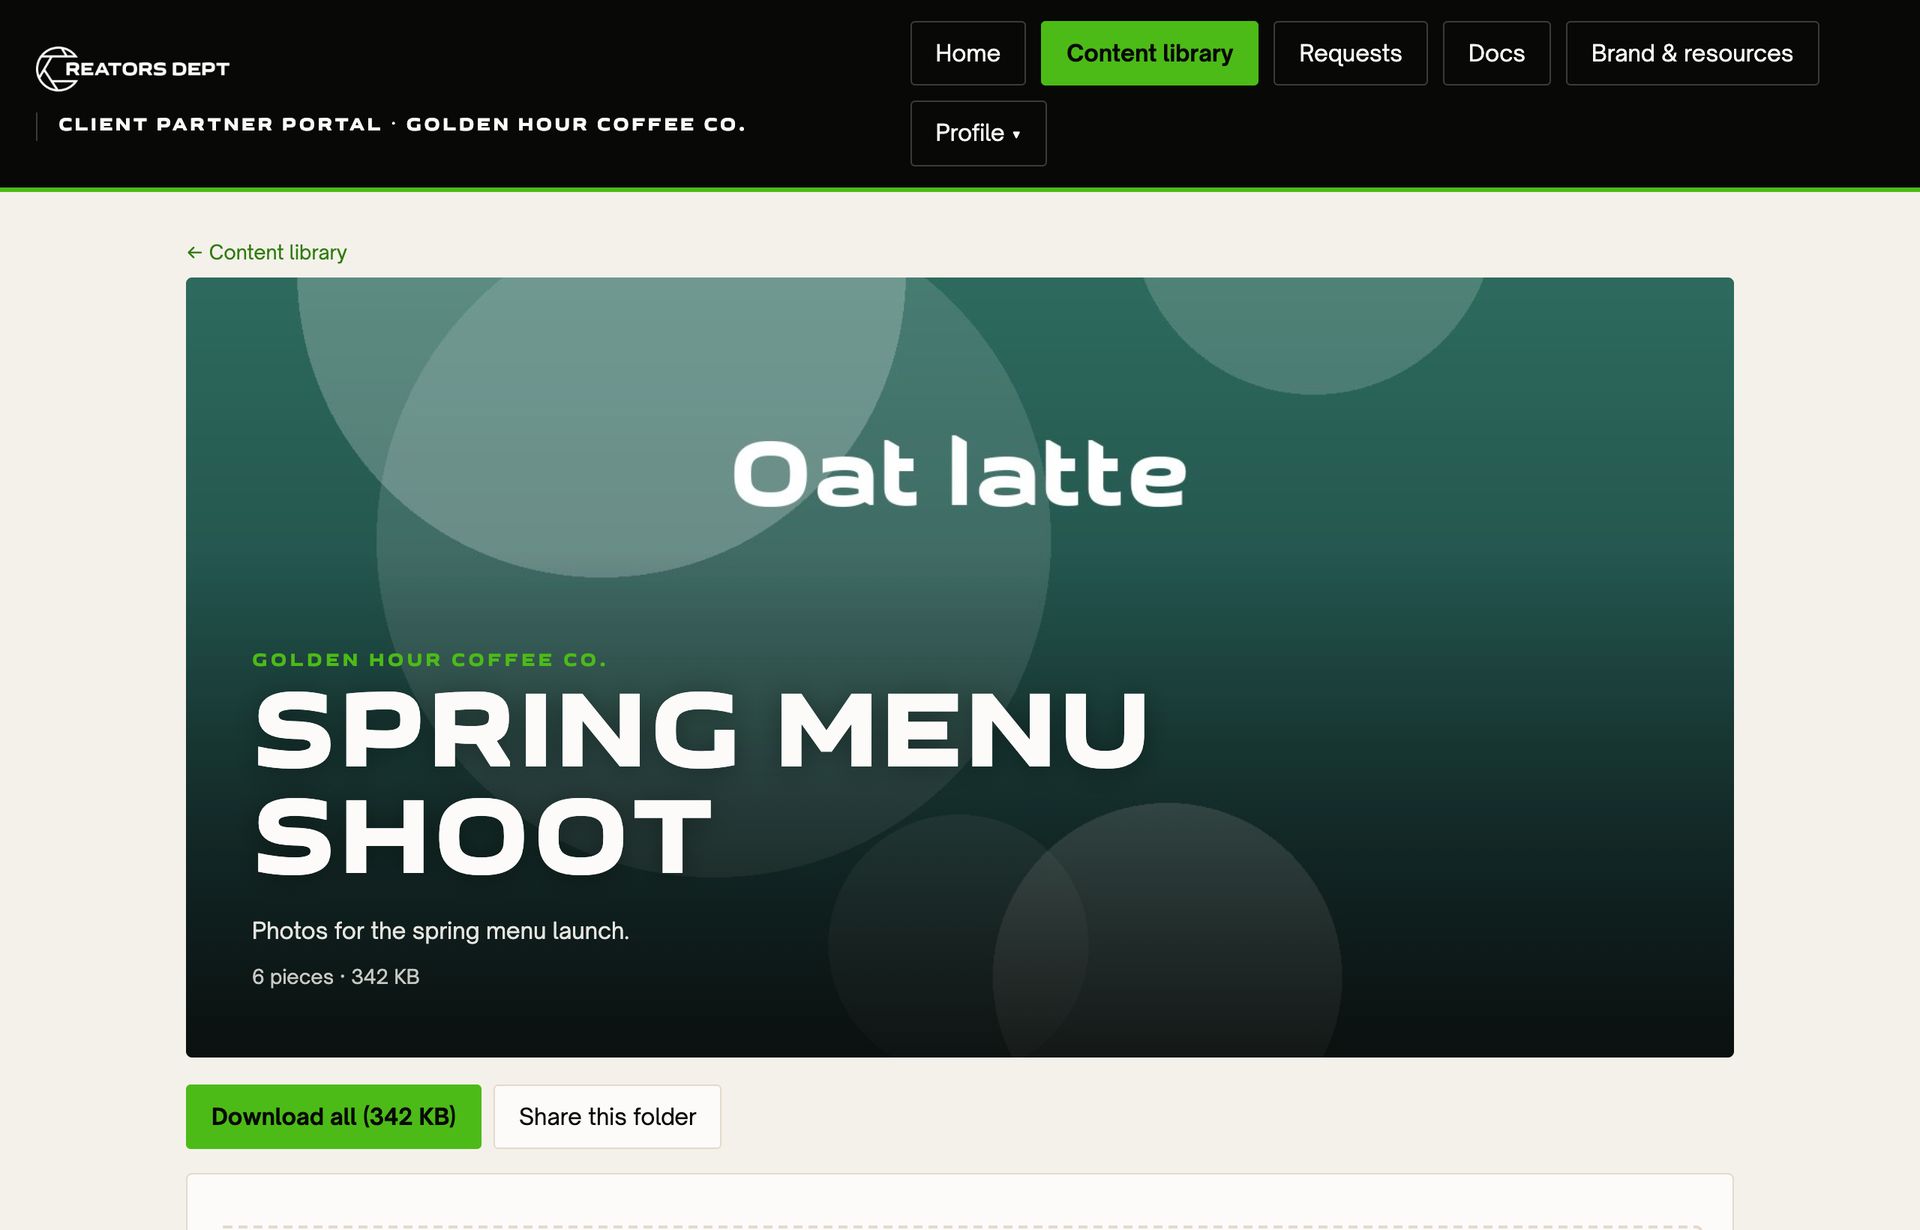
- Click Content library in the menu at the top. Your content is organized into folders, one per shoot or project. Click Needs review to see only what's waiting on you.
- Open a folder, then click any photo or video to see it full size. Use the ← → keys or arrows to move through the folder.
- To download, click Download original while viewing a piece, or Download all at the top of the folder to get the whole folder at once.
03 Approve content or request changes
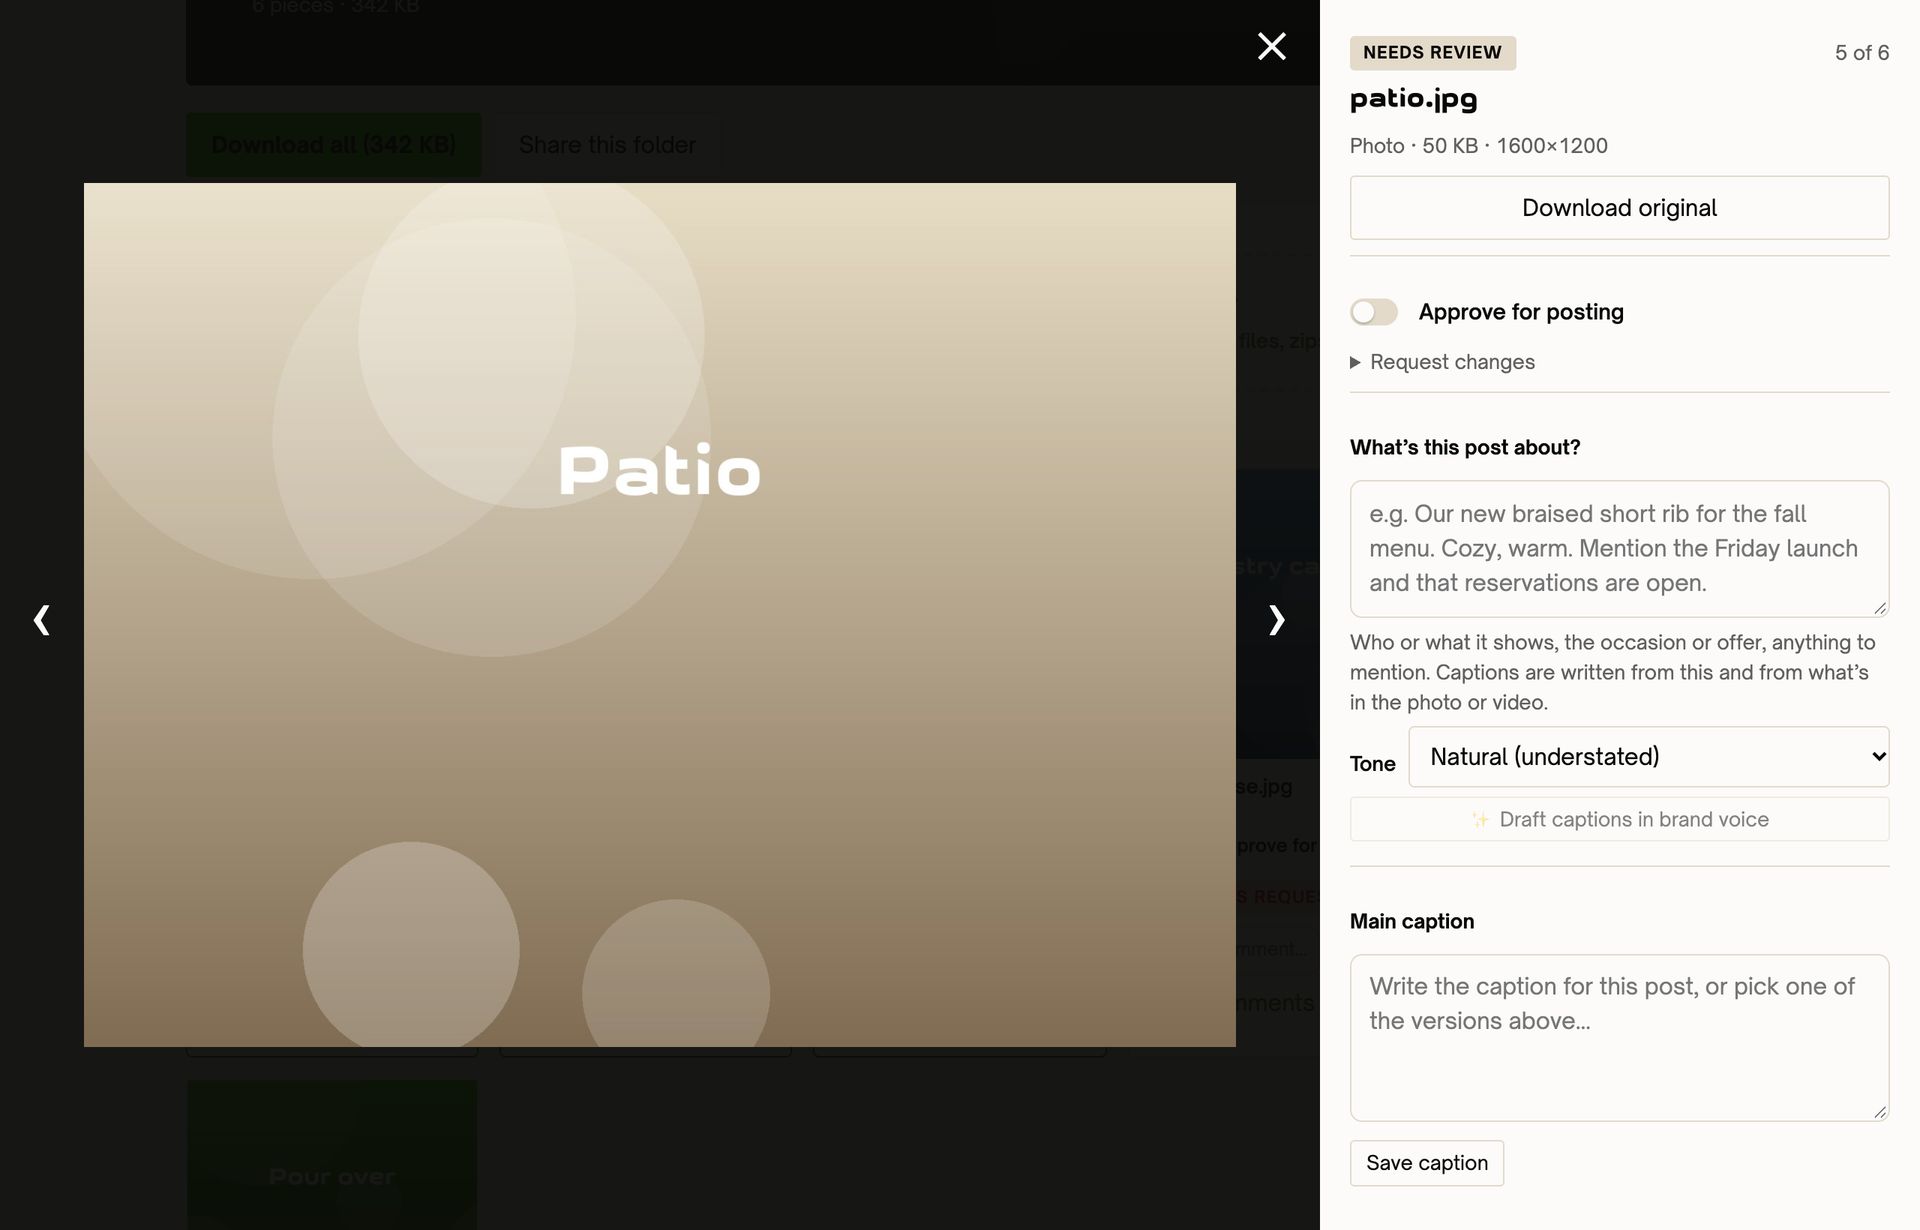
While viewing a piece:
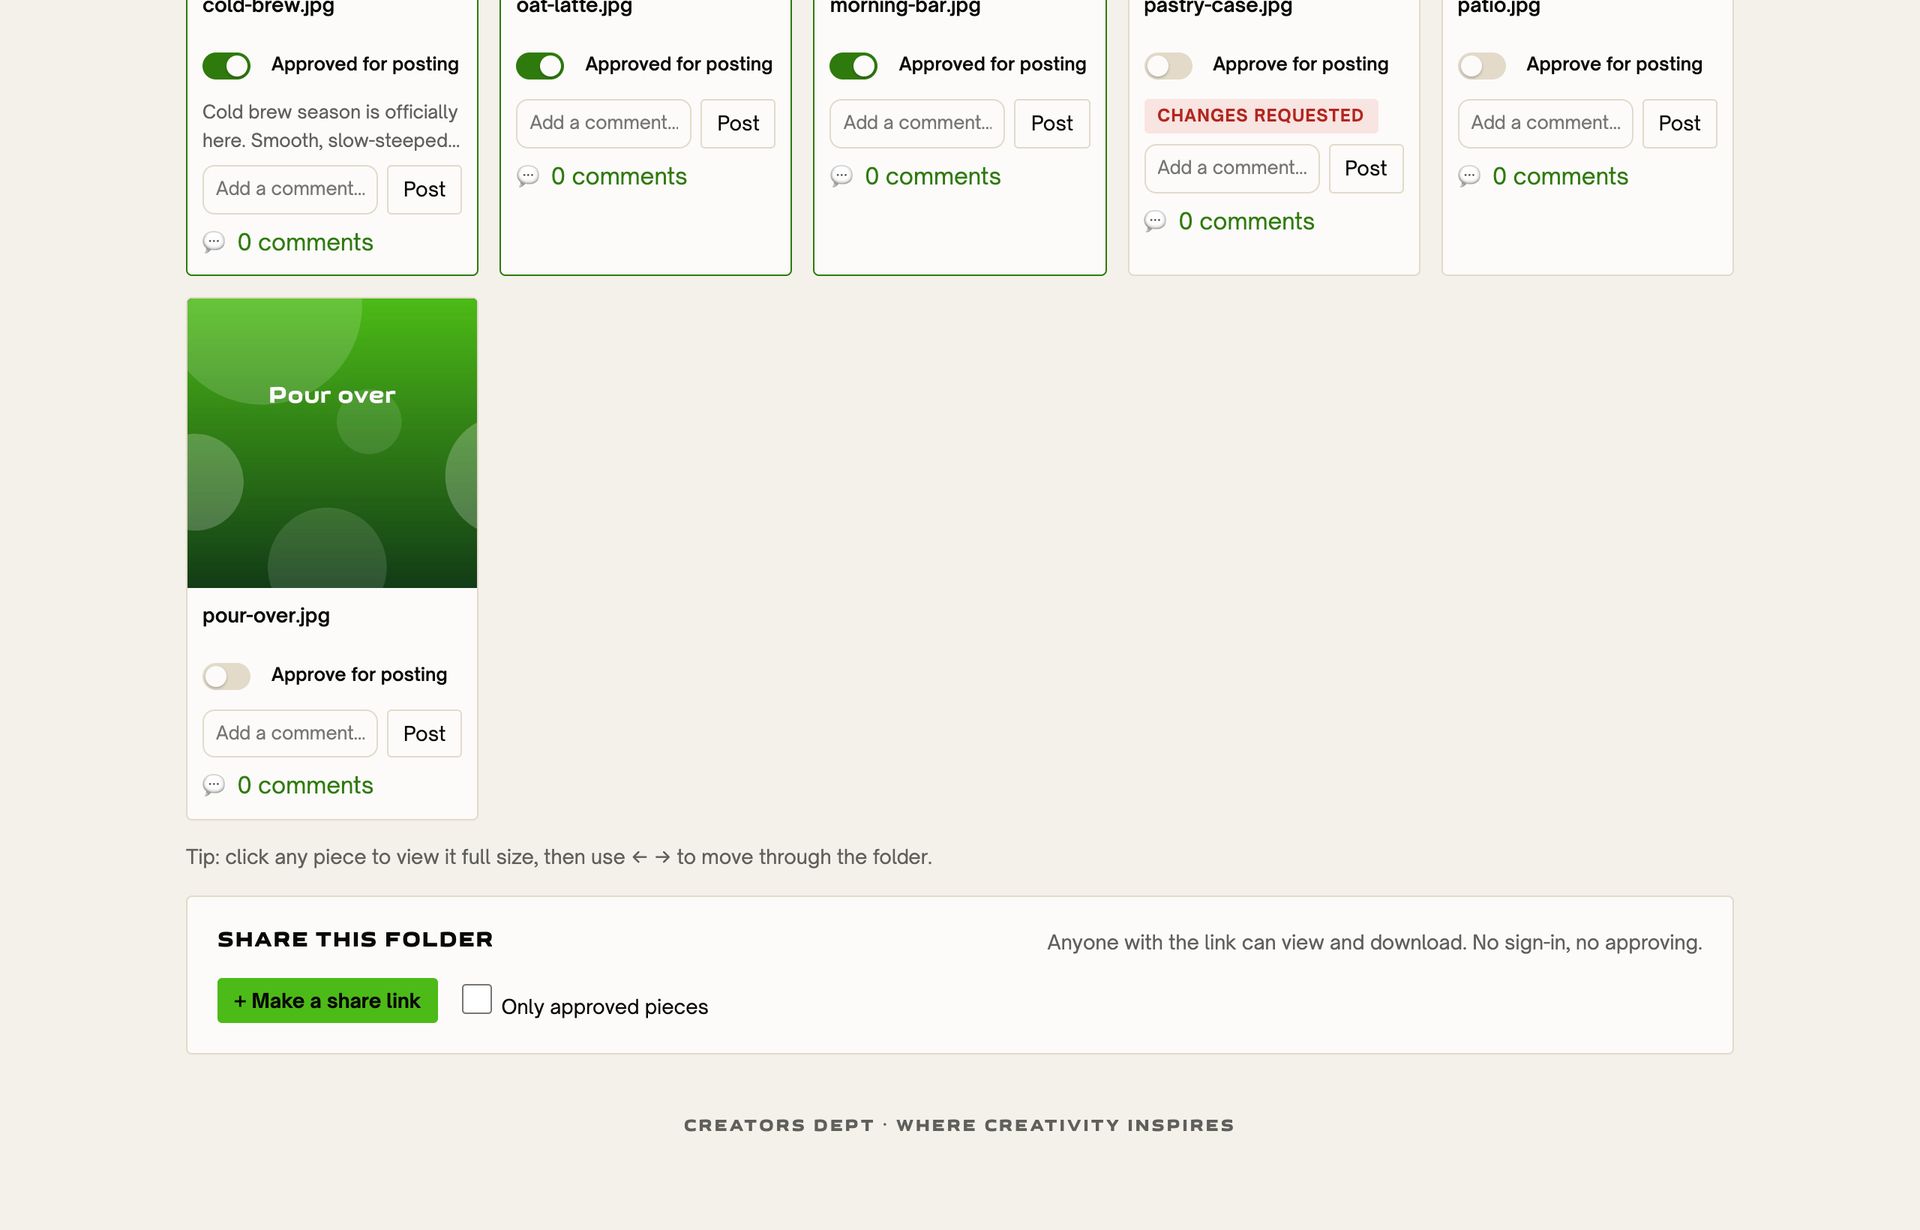
- Happy with it? Turn on Approve for posting. You can also flip this switch right on each piece in the folder.
- Want something different? Click Request changes, tell us what you'd like changed, and click Send feedback.
- Just a note? Type it under Comments and click Post.
We're notified either way, and each piece shows its status: Needs review, Approved or Changes requested.
04 Send a request and attach files
Need new content, an edit, a design, or just have a question? Ask in Requests.
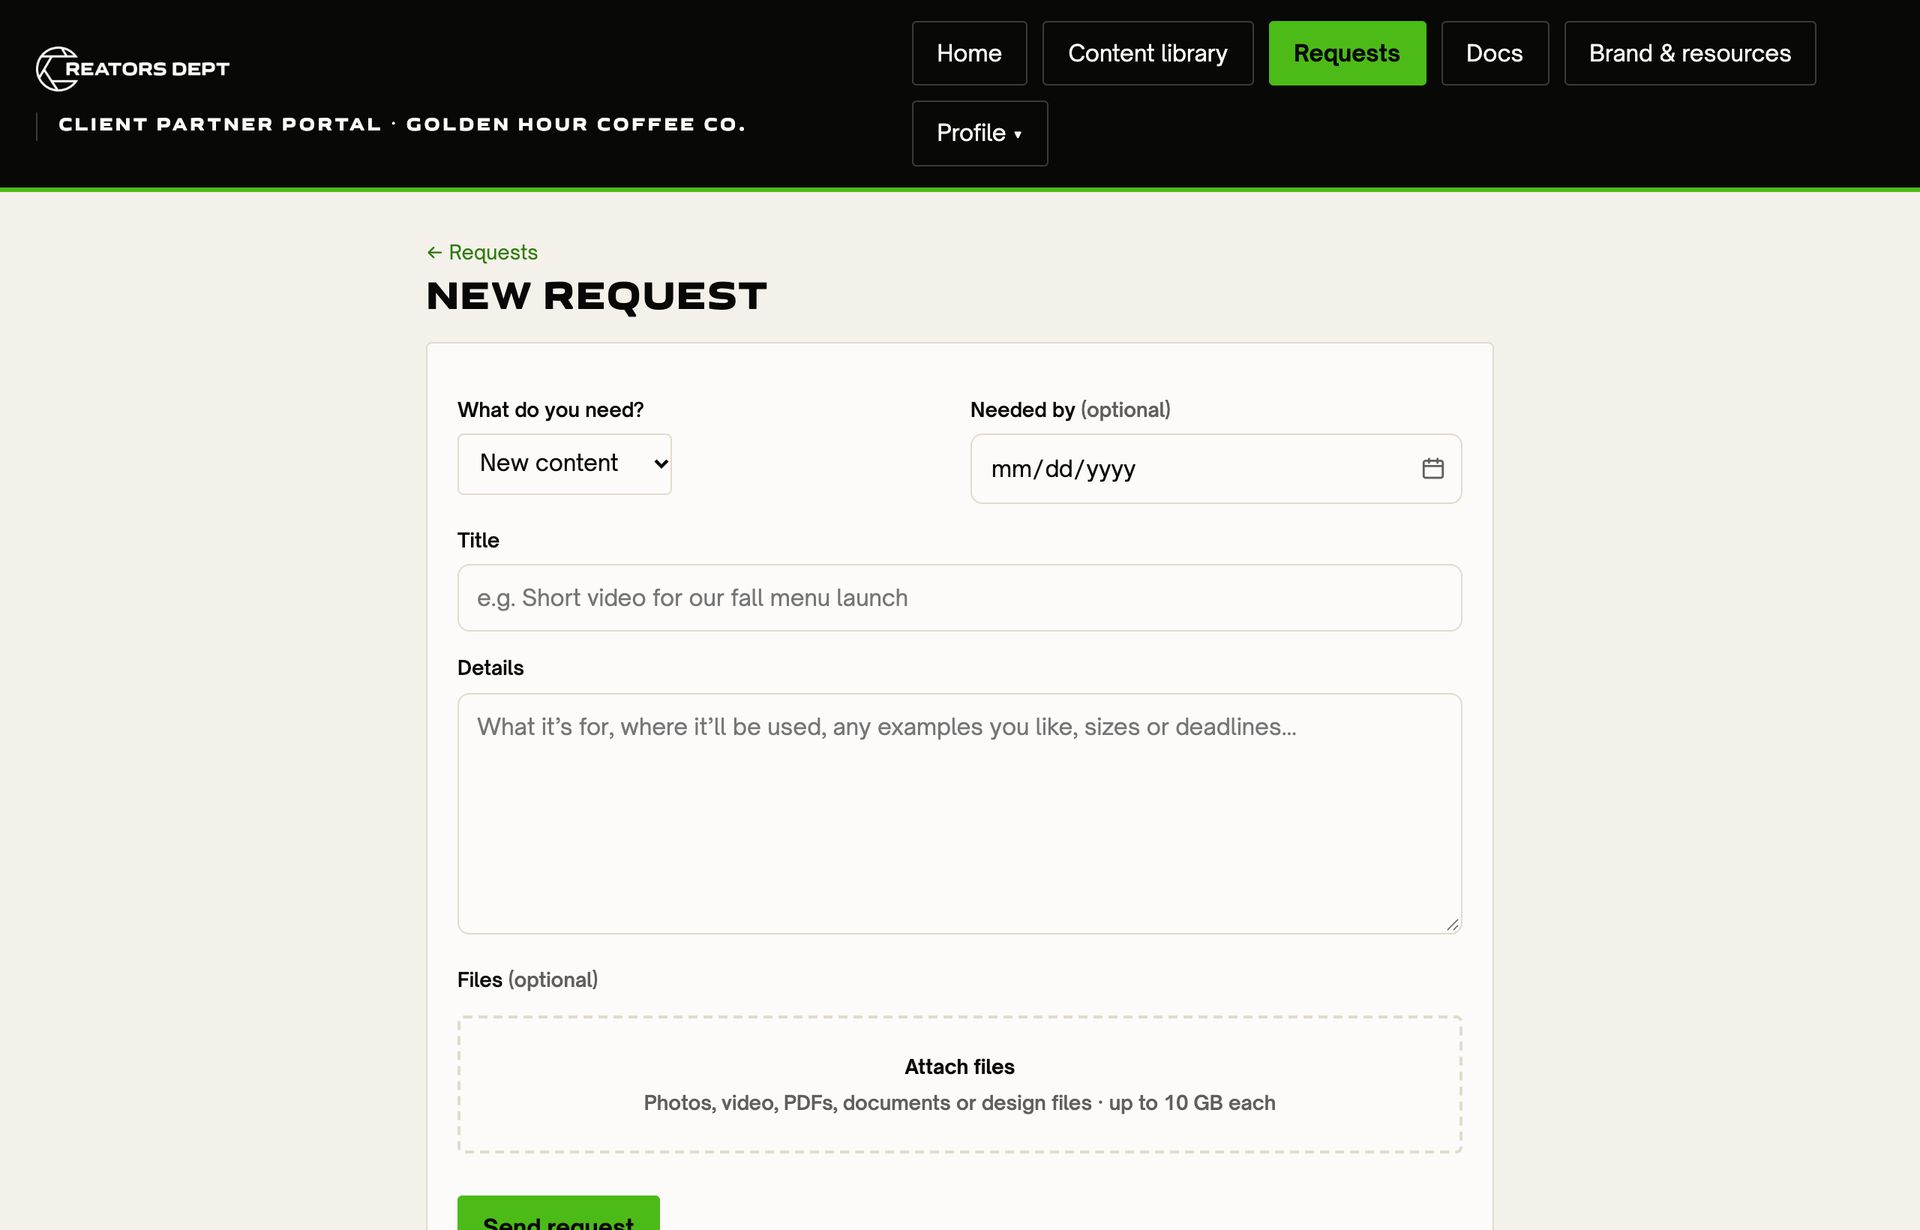
- Click Requests, then + New request.
- Choose what you need, add a Needed by date if there is one, and give it a Title and Details.
- Under Files, click Attach files (or drag them in), then click Send request.
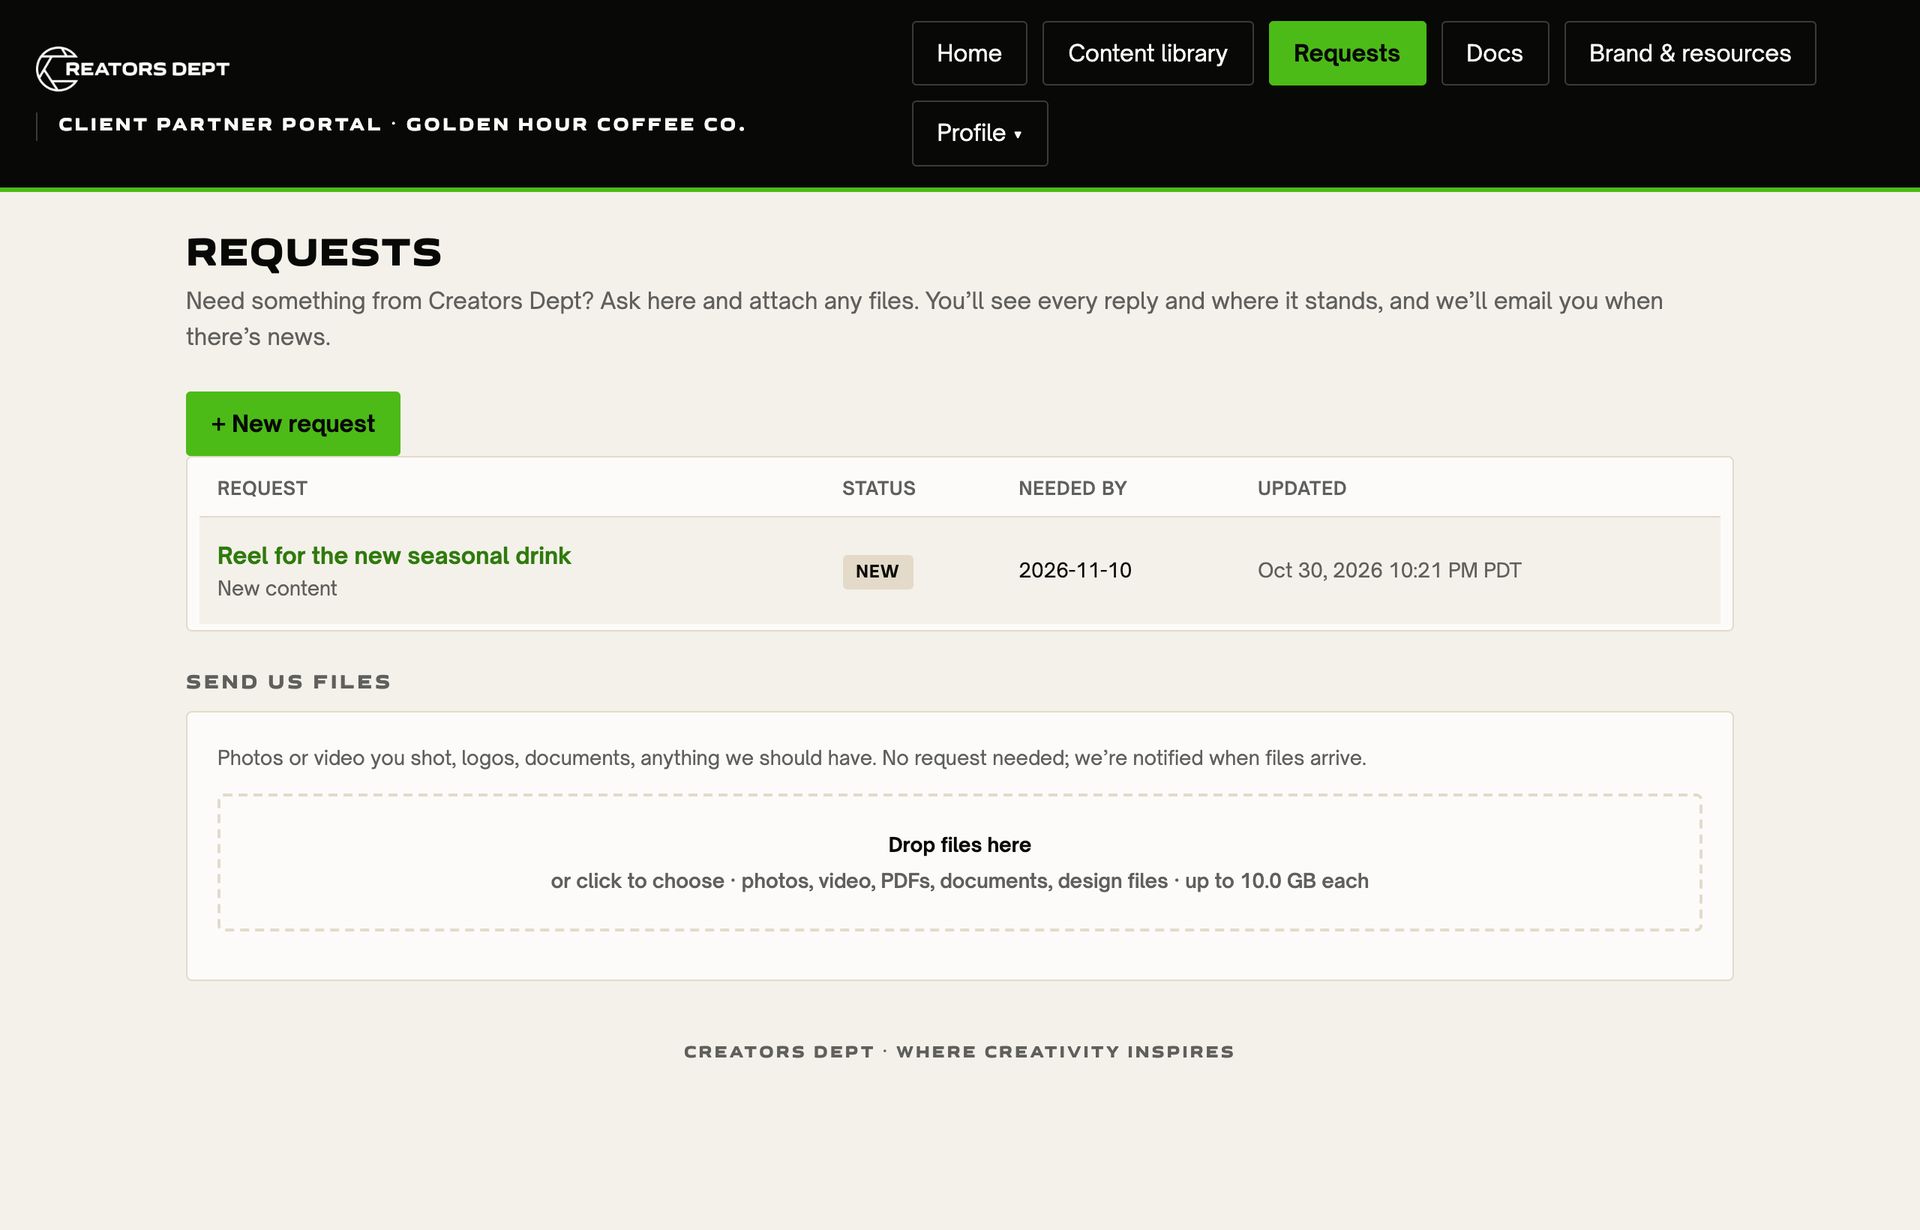
You'll see every reply and where each request stands (New, In progress or Done), and we'll email you when there's news. To send files without a request, drop them in Send us files on the Requests page.
If a content folder shows an Add your photos, videos and files box, you can upload straight into that folder too.
When we need something from you
Sometimes we'll ask you for something: files, an approval or a quick answer. You'll get an email, and it shows at the top of your Requests page under We need from you (and on your portal home). Open it to reply or add files, then click Mark done. We're told right away.
Projects
For bigger jobs we may share a project with you: a list of steps showing who does what and how far along it is. Find it under Projects on your Requests page. Steps marked Yours are for you. Tick the circle when one is done, and we'll pick up from there. We'll email you when it's your turn, and again when the whole project is finished.
05 Find docs, brand files and agreements
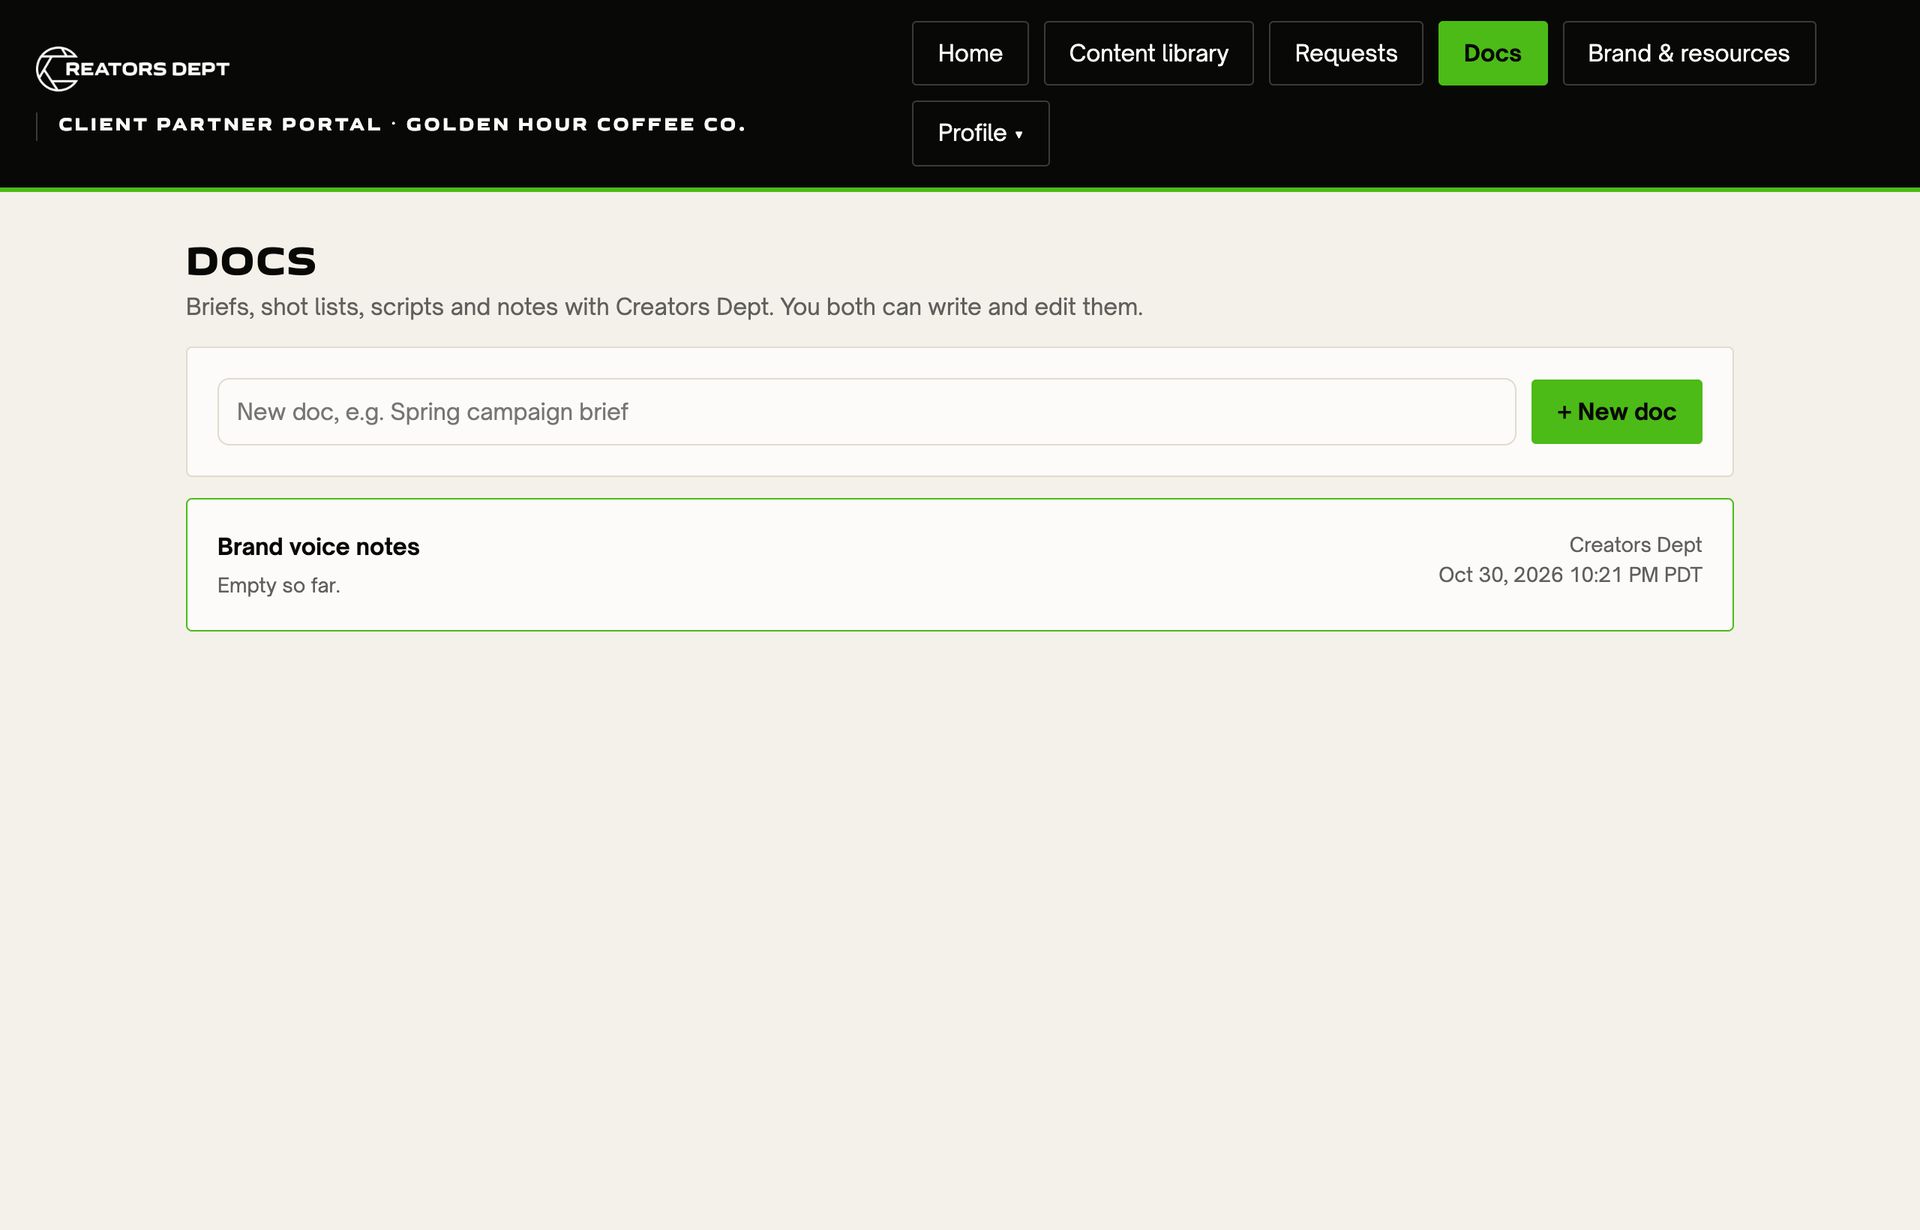
- Docs: briefs, shot lists, scripts and notes we write together. Open one to read or edit it, or click + New doc to start one. Each doc can be downloaded as a PDF.
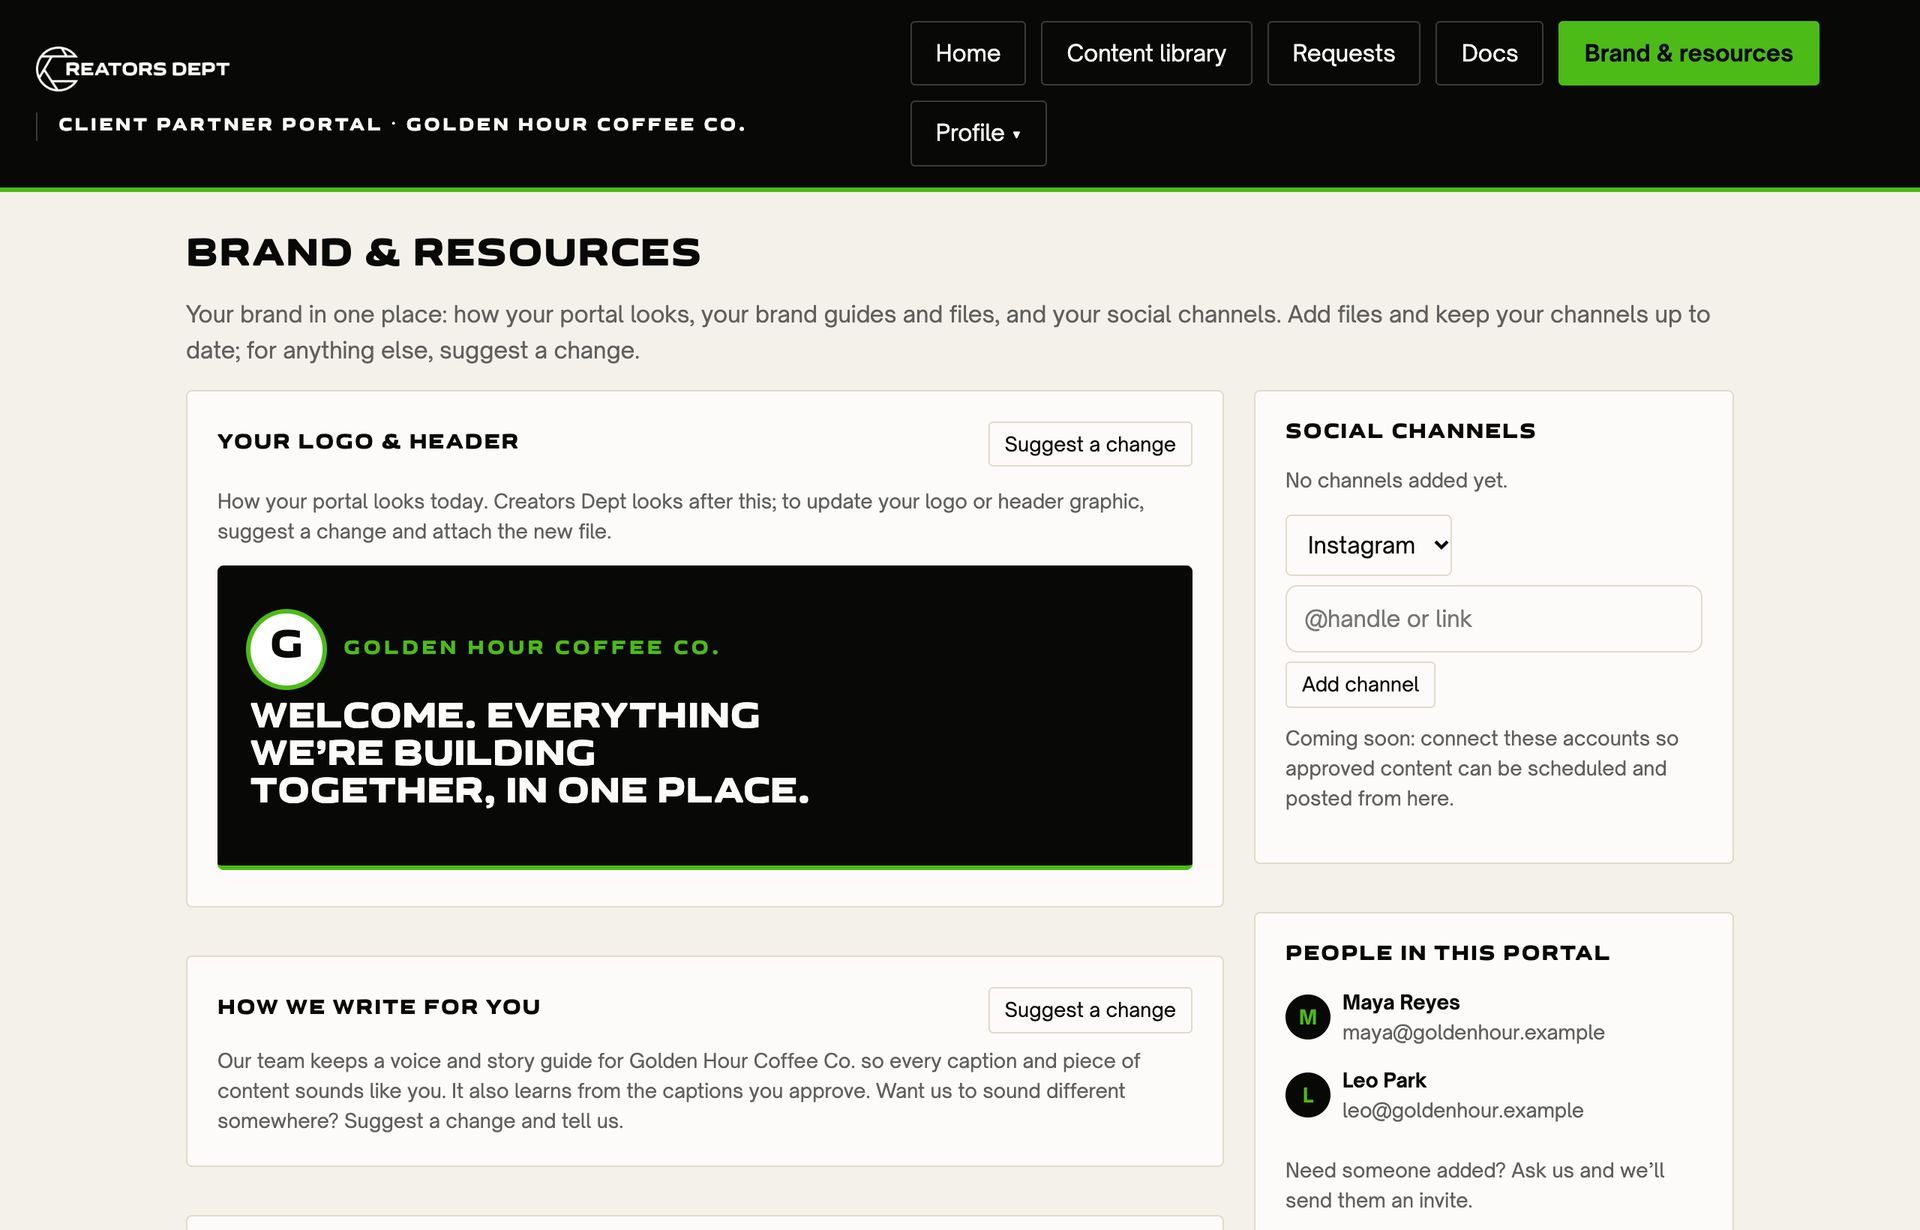
- Brand & resources: your logo, brand guides and files, and your social channels. Click Download on any file, drop in new ones, or click Suggest a change if something needs updating.
- Agreements & payments: on your portal home. Agreements waiting for you have a Review & sign button. Once signed, a PDF button gives you your copy, along with any agreements from before the portal.
- Invoices: when we bill you, you get an email and the invoice appears under Agreements & payments with a View & pay button. Pay securely by card through Stripe, and it shows as Paid with your receipt. On a monthly retainer, a new invoice arrives on the same day each month.
These appear as soon as we've shared something with you. Until then, the page tells you it's empty.
06 Get help from our team
On your portal home, the Your team at Creators Dept card has an Email us button, and a Schedule a meeting button when booking is set up for you. You can also reply to any email we send you.
Need someone else from your business added to the portal? Ask us and we'll send them an invitation.
07 Optional: Sign an agreement
When we send you an agreement, it shows under Needs your attention and gets its own email.
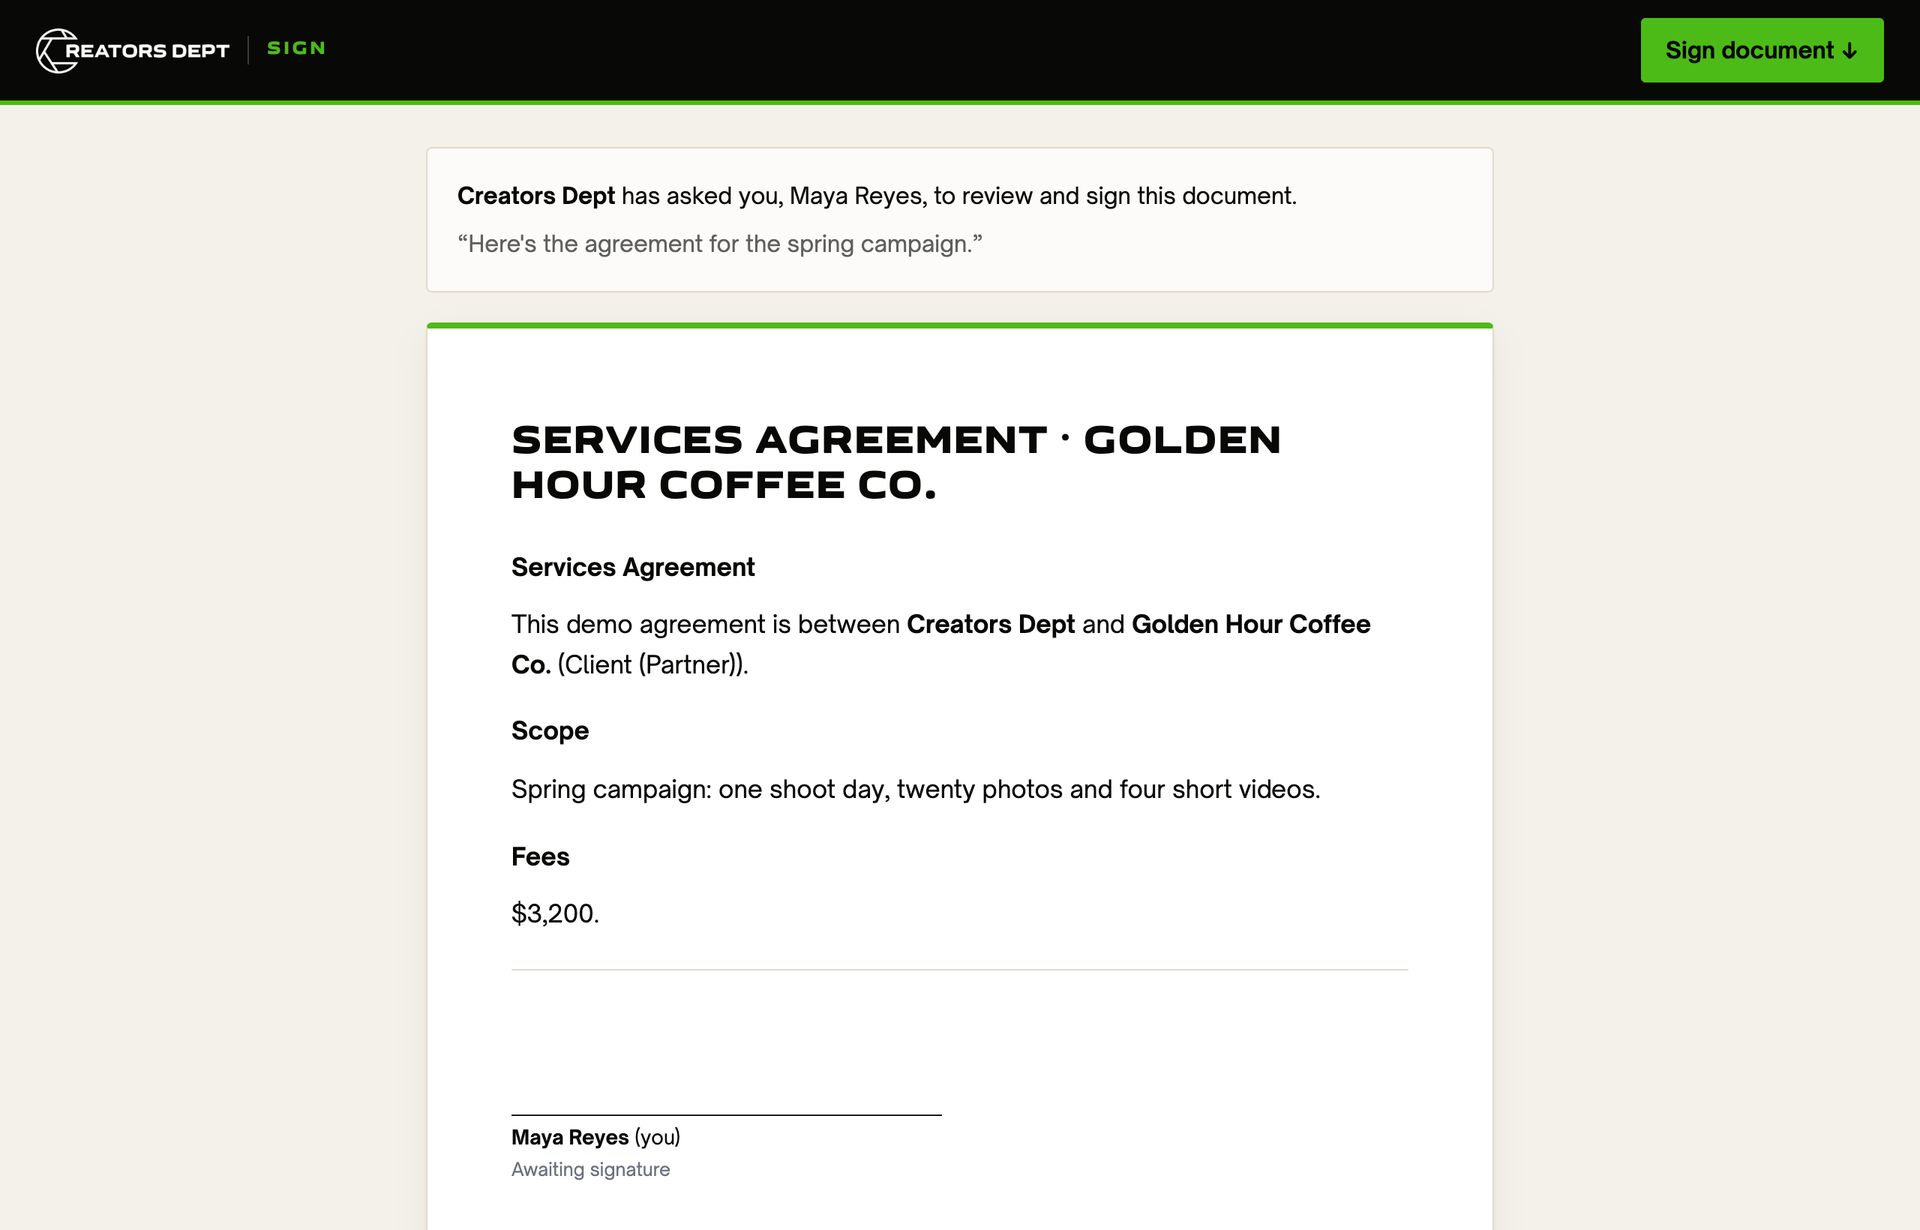
- Click Review & sign and read it through.
- Click Sign document ↓, then Type or Draw your signature.
- Click Adopt signature & sign. Then click Download signed PDF for your copy. It's also kept on your portal home.
08 Optional: Proposals and deposits
Sometimes we'll send a proposal first. You'll see Review your proposal on your home page and get an email with a link.
- Open it, read it through, and click Select on the package you want, plus any add-ons.
- Enter your name and email and click Accept & review agreement →. Not the right fit? Click Pass on this proposal.
- Sign the agreement as above. If there's a deposit, you'll see Pay deposit. It's a secure card payment through Stripe, and it shows as Paid afterwards.
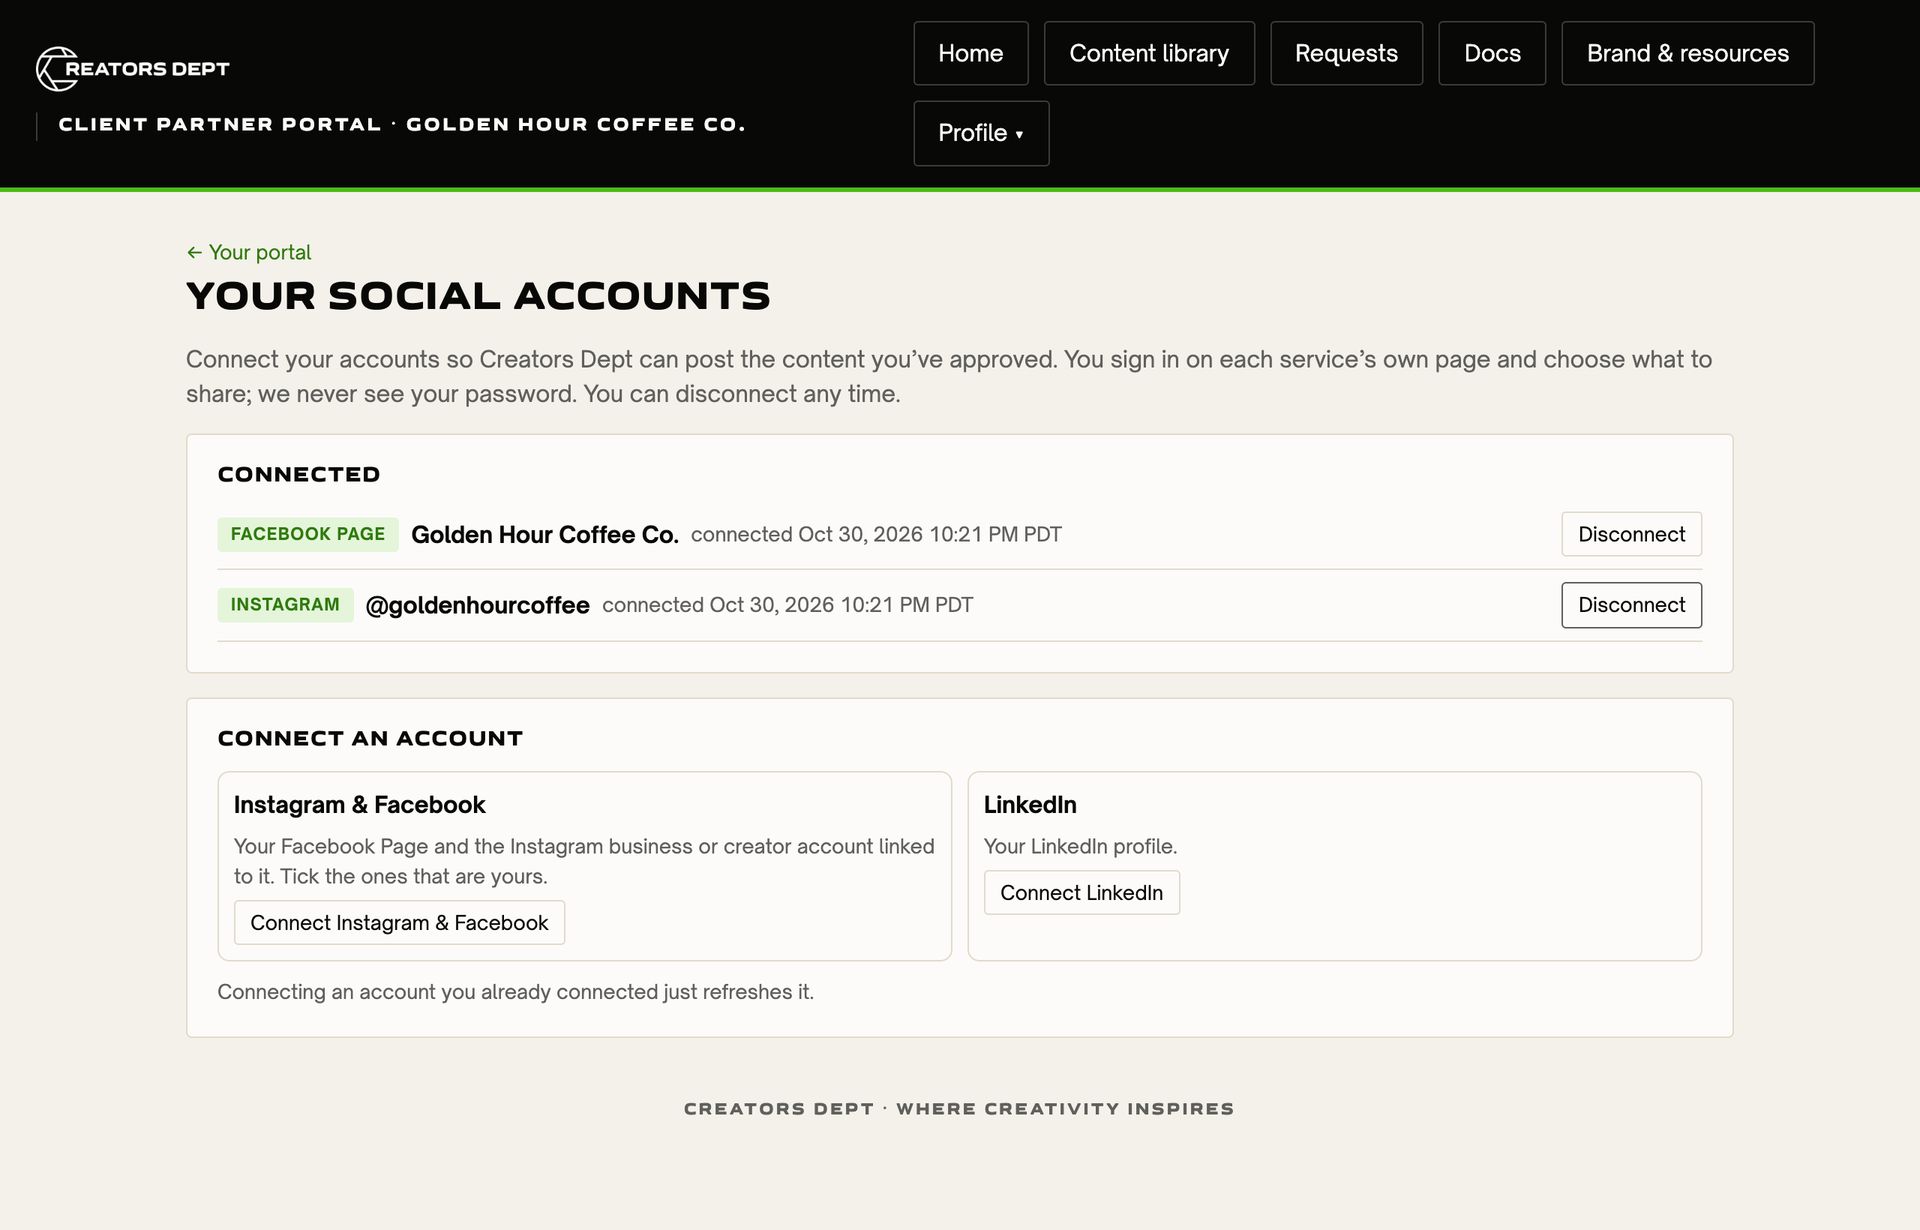
09 Optional: Connect your social accounts
If your home page shows a Your social accounts card, we can post the content you approve straight to your accounts.
- Click Connect accounts (or Manage).
- Pick a service, such as Connect Instagram & Facebook, and sign in on that service's own page. Choose the accounts that are yours. We never see your password.
- To stop, click Disconnect next to an account. Any posts scheduled for it are cancelled.
10 Optional: Share a folder
To show a folder to someone outside the portal, such as a coworker or a printer, open the folder and click Share this folder, then + Make a share link. Tick Only approved pieces to leave out anything still in review. Anyone with the link can view and download; they can't approve or comment. To stop a link you made from working, click Turn off next to it.
11 Optional: Your profile and your phone
- Click Profile ▾ at the top, then Your profile, to add your title, phone numbers, website and links, or to change your password. Sign out is in the same menu.
- The portal works in your phone's browser. Swipe the menu bar sideways to reach every page. Add it to your Home Screen for one-tap access.